|
|||||||
| Sponsored Links (Register now to hide all advertisements) |
|
|
 |

|
Thread Tools | Display Modes |
|
|
|
|
#1 |
|
Member
Join Date: May 2010
Location: Downeast Maine
Posts: 78
|
Here Here to MrTexas. Not as much personal satisfaction as doing it myself, but the plates look lots better than my multiple aborted efforts.
|
|
|

|
|
|
#2 |
|
Senior Member
Join Date: May 2010
Location: Sugar Land, TX
Posts: 4,420
|
Here is the result of the sign painter's work at $20 a plate:
 I was somewhat disappointed by all the brush marks but most disappeared after spraying with clear. Next step is to buy some One Shot enamel and try my hand at it myself. I've kind of caught the license plate collecting bug after buying 10 Texas pairs from a friend, 1949-1967. I've also bought a bunch on fee bay including a 1917! |
|
|

|
| Sponsored Links (Register now to hide all advertisements) |
|
|
|
|
#3 |
|
Senior Member
Join Date: May 2010
Location: Northern New Jersey
Posts: 1,262
|
How were the numbers applied originally by the various States ? I know WHO they had making the plates......
|
|
|

|
|
|
#4 |
|
Senior Member
Join Date: May 2010
Location: Sugar Land, TX
Posts: 4,420
|
|
|
|

|
|
|
#5 |
|
Senior Member
Join Date: May 2010
Location: Camarillo, CA and Pine Grove, CA
Posts: 2,962
|
A small 4" foam paint roller is great for painting the numbers and letters.
__________________
1921 Runabout 1930 Tudor Early 1930 AA Speed costs money. How fast do you want to go? 
|
|
|

|
|
|
#6 |
|
Member
Join Date: Jun 2010
Location: East Lansing, MI
Posts: 51
|
Sponsored Links (Register now to hide all advertisements)
|
|
|

|
|
|
#7 |
|
Senior Member
Join Date: May 2010
Location: Rhode Island
Posts: 1,868
|
Here's how they painted the plates in the 30's
I think you need quicktime to view this video http://www.efootage.com/play-stock-f...ctoryfactories Here's another: http://www.thoughtequity.com/video/clip/49304023_002.do |
|
|

|
|
|
#8 | |
|
Senior Member
Join Date: May 2010
Location: Wakarusa, IN
Posts: 932
|
Quote:
It seems like it would be possible to build a device to paint plates similar to the original method. When looking at RonCís video, the paint roller rides on wheels distributing even pressure between the rollers mat and the numbers on the plate. It looks like the template presses down and applies pressure to all sides of the plate forcing it to lay flat. In addition, with two rollers and two swipes, the plate receives four coats of paint. I assume the type of roller mat would play in the final finish.
__________________
http://MODELABASICS.com/ How Things Work on a Model "A" Ford Fordbarners, Feel free to use the pictures on my site to answer questions and create tutorials/tech articles. |
|
|
|

|
|
|
#9 |
|
Senior Member
Join Date: May 2010
Location: Peoria IL
Posts: 282
|
26 responces and no one hit on the easy way to do it yourself! Am I the only old timer left that remembers all the tricks? Paint the background color as usual then use a Q-Tip or medical swab and one shot paint to do the numbers. It is easier than you might imagine to do a reasonable job.
Rainmaker Ron |
|
|

|
|
|
#10 |
|
BANNED
Join Date: May 2010
Location: stratford,ct
Posts: 5,971
|
Spray background color,then when completly dry,use a paint pen [like a magic marker] only contain real paint. Very easy to control on the #. Model shops carry them. ken ct. Lots of color choices too.
|
|
|

|
|
|
#11 |
|
Senior Member
Join Date: May 2010
Location: Rhode Island
Posts: 1,868
|
How can you tell they receive 4 coats? Could they be painting 2 duplicate plates maybe 2 times each?
|
|
|

|
|
|
#12 |
|
Member
Join Date: May 2010
Posts: 99
|
I just finished a VERY rough 1928 Georgia Dealer tag. After I glass beaded the tag- two quarter size spots were completely missing from the tag,it had about 500 pinholes,along with"10,000" pits, and half of the rolled edge was missing. I painted the tag with rust converter acid. Then I made up the missing rolled edge with heavy copper wire and JB Quick(using clothes pins to hold it in position). After this, I covered the front of the tag with masking tape (it took a while to get it into every crook and bend). Next, I covered the back side of the tag with fiberglass resin and mat. After it set up, I removed the masking tape. All the holes were now filled in with the resin. I scuffed the back with 600 grit sandpaper and started putting down several coats of high build lacquer "rattle can" primer. I didn't concern myself too much about the smoothness of the back side. I primed and sanded the front side and filled the larger pits and crevises using the JB Quick(a razor blade and wet fingers work well). I repeated this MANY times using 320 the 600 grit sandpaper. I had a good idea of the correct color of the body of the tag and had PPG mix it and put it in a spray can. The down side of using a spray can is that there is no hardener in the paint (I let it dry in direct sunlight for about a week). The up side to using the spray can is cost(no additional purchase of hardener and reducer for such a small job) and a ready supply of touch up paint that has a long shelf life. After the paint hardened, I CAREFULLY scuffed the letters with a very small piece of 1000 grit paper to give the lettering paint a good grip. The art supply store suggested that I buy a multipak of camel hair brushes and a small can of ONE SHOT lettering paint-which I did. I'd never lettered anything that I needed to be this particular with so I practiced on an unused tag (I'm sure everyone has several of these). After my lettering ability became respectible (I found that using one hand to steady the other worked well for me), I lettered my project tag. It turned out GREAT. While the tag now weighs as much as 3 tags due to the fiberglass and filling primer,it was worth the effort due to its rarity. I hope my "homebrewed" method will help.
|
|
|

|
|
|
#13 |
|
Senior Member
Join Date: May 2010
Location: Marietta GA.
Posts: 647
|
I saw two 1931 GA. restored tag's last mo. at a car swap meet, they both had a price tag of $250 ea.
 .... The vender said that the GA 31 was one of the harder one's to find any more. .... The vender said that the GA 31 was one of the harder one's to find any more.I remember a few years ago some venders were asking from $100 to $150 for them. 
|
|
|

|
|
|
#14 |
|
Junior Member
Join Date: Jul 2013
Location: Denver CO
Posts: 1
|
Any YouTube videos on this process?
|
|
|

|
|
|
#15 |
|
Senior Member
Join Date: Apr 2013
Location: Columbia, TN.38401
Posts: 422
|
Have any of you tried rolling the paint on the numbers with the plate upside down?
|
|
|

|
|
|
#16 |
|
Senior Member
Join Date: Mar 2013
Location: Bend Or.
Posts: 1,080
|
I used a combination. I tried multiple nap rollers and rubber ones. Not much luck, I spray painted the background and let it dry for a few days. Then I use the paint pen for the smaller letters and an artist brush for the larger. I found the key to painting the large numbers was to thin the paint to cover well, but still flow nicely and lay it on pretty heavy, to have a nice edge. Be aggresive with the edge, if it isn't straight, a rag wrapped around your finger and dipped in thinner makes a clean edge as you can follow the letter contour.
Another thing was to only paint every other letter at a sitting. That way you can cup one hand inside the other for real stability. I found moving the plate around so I could always be painting right to left or left to right the best, up and down tends to be harder. The finished color looks red because it is on a red floor but it is the correct Maroon.
__________________
Bill Worden 1929 Roadster 1929 Briggs Town Sedan 1930 Closed Cab pickup 1931 Coupe 2 Smith Motor Compressors 1951 Ford F1 High Desert Model A's |
|
|

|
|
|
#17 |
|
Senior Member
Join Date: Mar 2013
Location: Bend Or.
Posts: 1,080
|
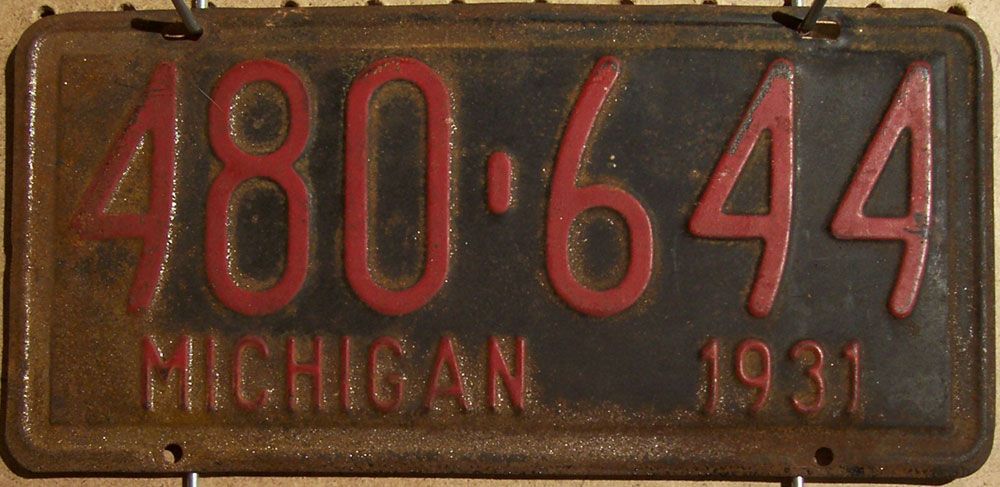
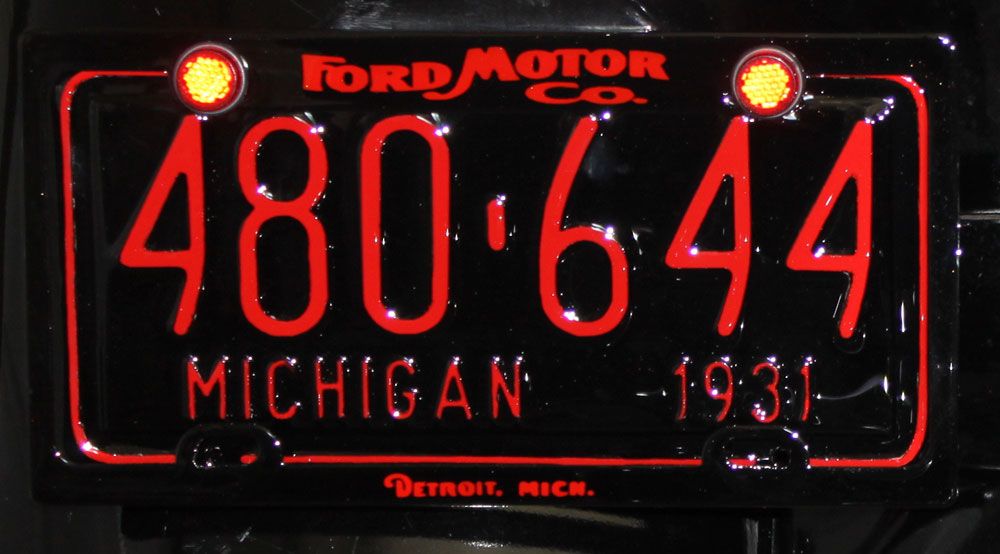
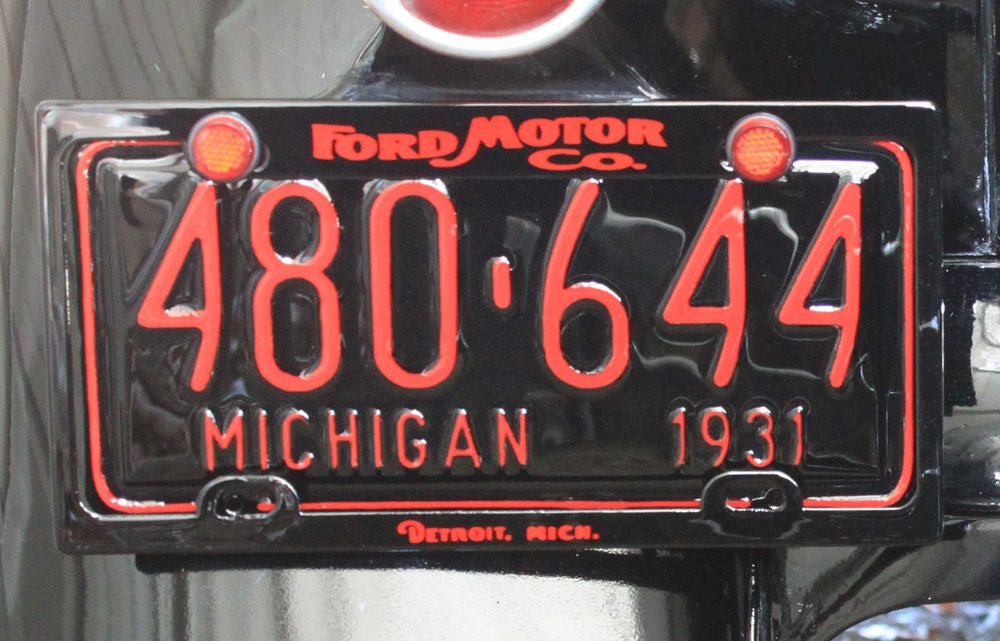
And can you find the relationship between the first three numbers and the last? BTW this is a fun project.
__________________
Bill Worden 1929 Roadster 1929 Briggs Town Sedan 1930 Closed Cab pickup 1931 Coupe 2 Smith Motor Compressors 1951 Ford F1 High Desert Model A's |
|
|

|
|
|
#18 |
|
Senior Member
Join Date: Sep 2010
Location: michigan
Posts: 1,138
|
I have tried something just a little bit different .I paint the back side and let it dry good .Then I purchase a model car paint markers its firmer and easer to handle for me and paint the numbers it takes a couple of coats .I LET THAT DRY TO .Then I just spray a coat of tester model paint clear over the plate it works well for me and have sold several at swap meet the are all hold up well and still get compliments years later.
|
|
|

|
|
|
#19 |
|
Senior Member
Join Date: Nov 2013
Location: Traverse City, Mi
Posts: 185
|
|
|
|

|
|
|
#20 |
|
Senior Member
Join Date: Jul 2012
Location: Hazzard County
Posts: 1,921
|
I had some 1931 Y.O.M. plates restored for the Tudor by Ziffel in Valley Springs. He sandblasted them and did some "body work" on them, then primed and powder coated. He did the numbers color first and baked, then did background and simply wiped the black away from the numbers before baking. He even matched the sheen of the original plates. They look absolutely PERFECT! Total for both plates -$125.
DMV here in California will give you hassles with if you submit repainted plates for Y.O.M. and they frown on repaired or clear coated plates as well. They inspected my plates and swore they were completely original! Fooled everyone they were done so well. They look fabulous on the Tudor. |
|
|

|
 |
«
Previous Thread
|
Next Thread
»
|
|
| Sponsored Links (Register now to hide all advertisements) |
|
|
All times are GMT -5. The time now is 01:39 PM.


 Hybrid Mode
