|
|||||||


| Sponsored Links (Register now to hide all advertisements) |
|
|
 |

|
Thread Tools | Display Modes |
 09-09-2011, 08:53 PM
|
#1 |
|
Senior Member
Join Date: May 2010
Location: Seattle
Posts: 389
|
This is a copy and paste from my build thread, So there might be some text discrepancies. I just thought you guys might like to see what I am working on as it pertains to Model A substructure. Please look past the fact that my car is a hot rod. It's really rough and you guys wouldn't deem it restorable anyways.
Well, some of you know that I have been looking into repairing my b pillar and subframe. I wanted to repair my original parts as Bert's wanted $150 for a good set of b pillars and I couldn't see ruining a uncut original to fix mine. Here our some pictures of how I did it. So I started bracing things up. I ran two long pieces the length of the body welded to the subframe crossmembers. I then ran x braces from them to the top pieces I had installed. The body feels really solid now. I think I might hide a X in the body behind the seat. 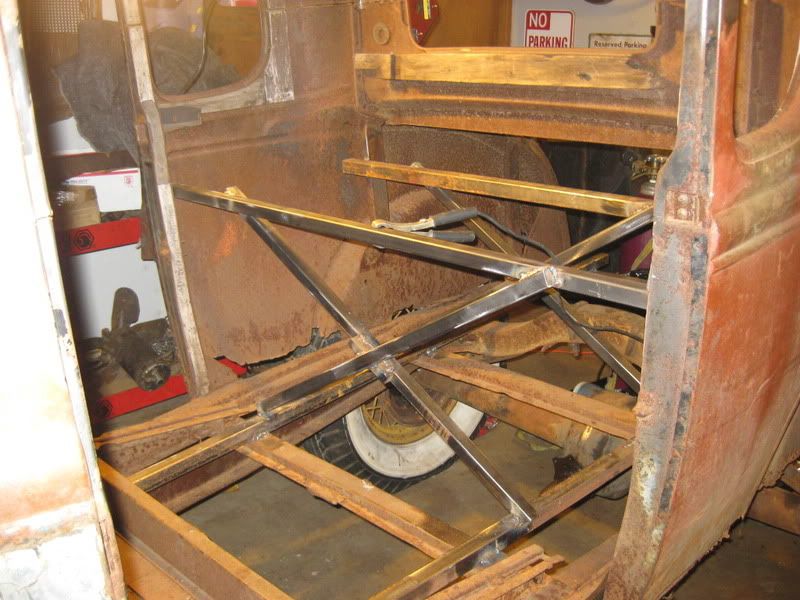 After I had everything where I wanted it I started to remove the rivets from the passenger side subframe. I like to grind the head off and drive them threw with a punch and hammer. 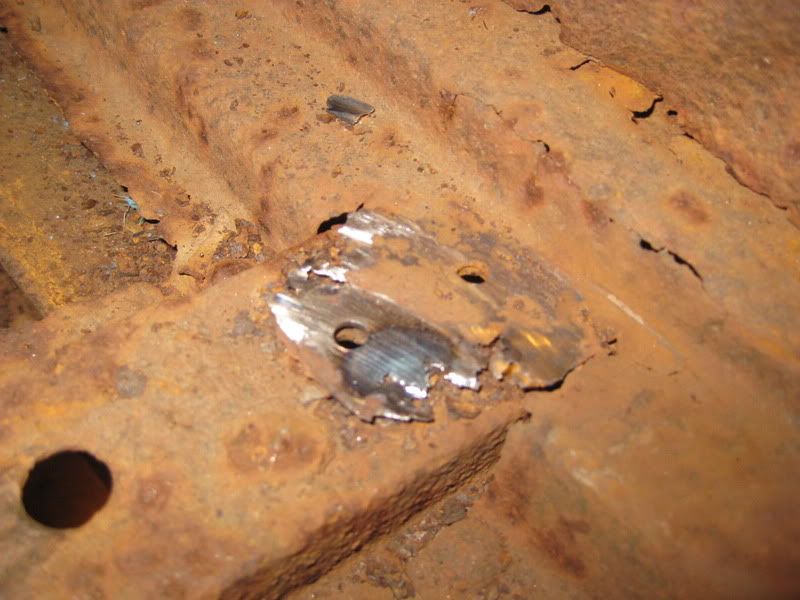 after I removed all the rivets, I cut right behind the b pillar. Basically everything came out really easy. Here it is removed. 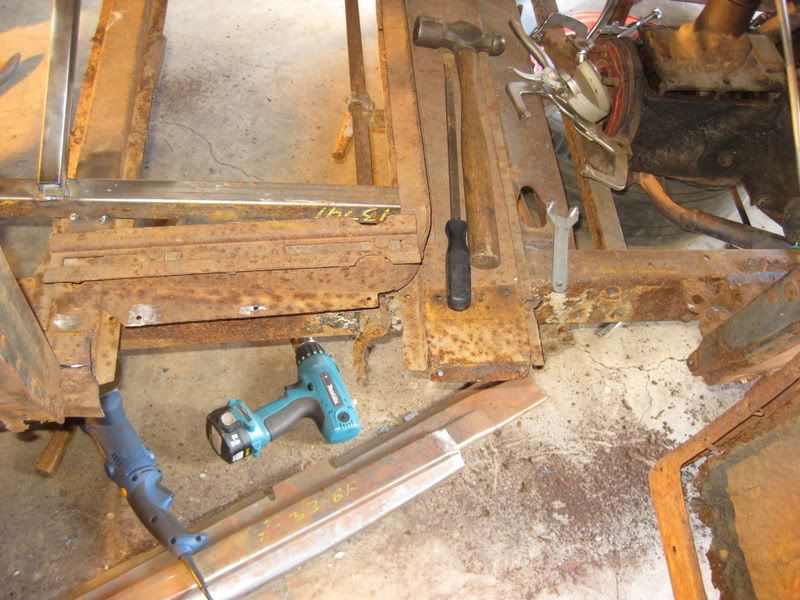 after I cleaned up the little stray bits. the new rail slid right in. 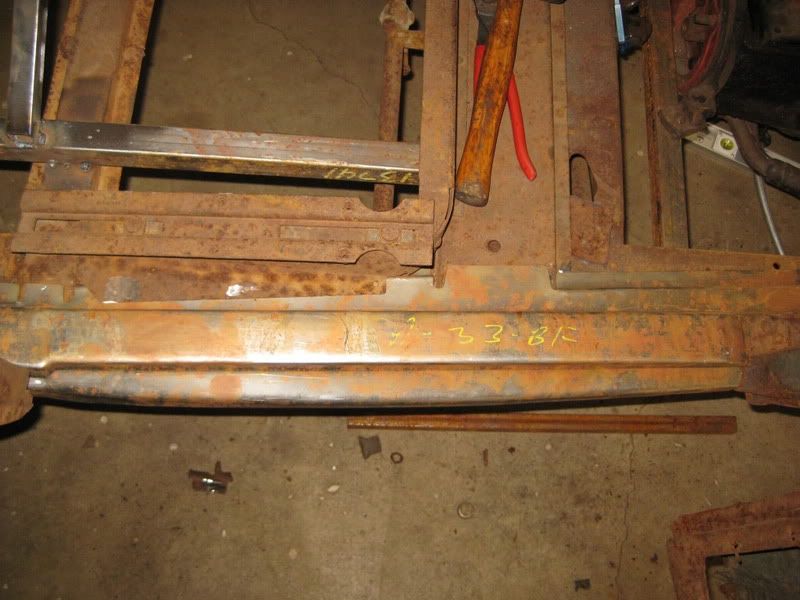 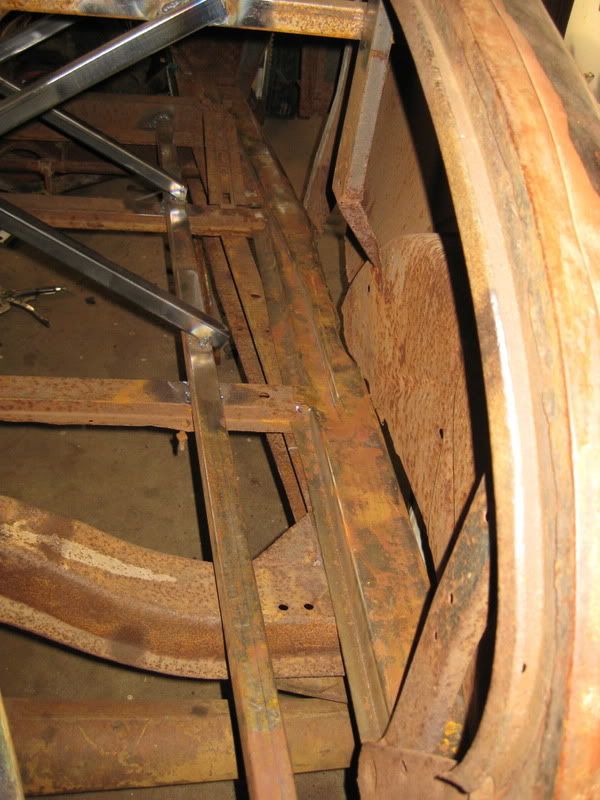
__________________
Matt in Seattle Last edited by Hitchhiker; 09-09-2011 at 09:06 PM. |

|

|
|
09-09-2011, 08:54 PM
|
#2 |
|
Senior Member
Join Date: May 2010
Location: Seattle
Posts: 389
|
I'm unsuccessfully teaching myself to make sheet metal things. But here is a tid bit......
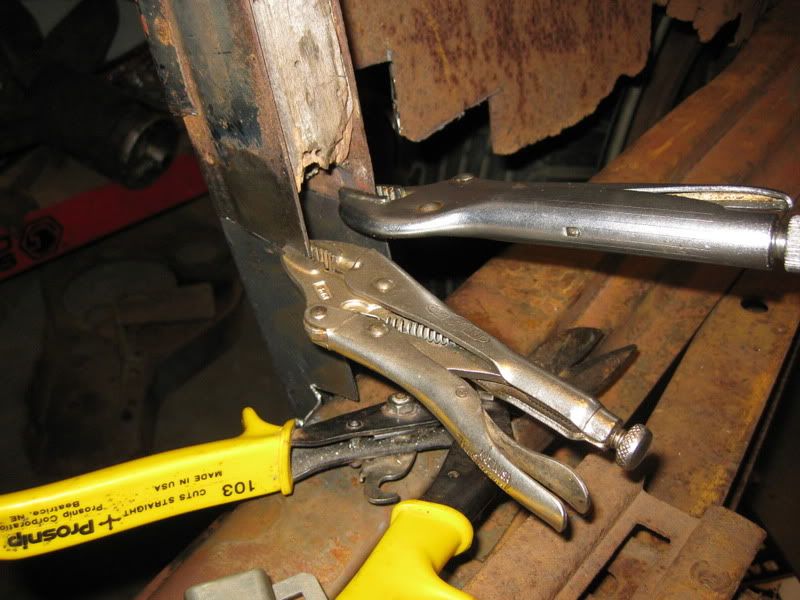
Last time I left off I had slid the replacement rail into the passenger side. I used sheet metal screws threw the original rivet holes to hold it together. I'll completely weld it later once everything fits together. Scroll back a few pages if you need a picture. I figured the next thing to do would be to fix and attach the passenger B pillar. It looks like this. 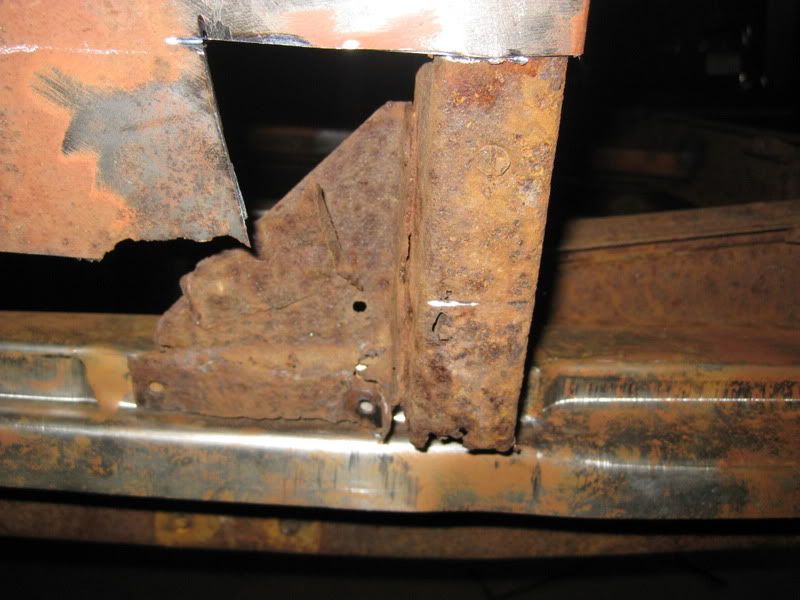 So I removed the triangle brace. 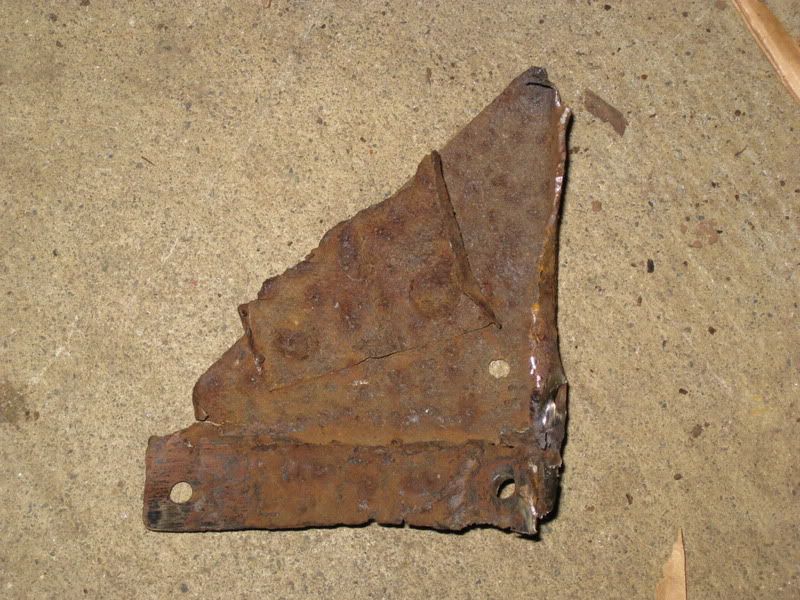  And I bought some 18g a few months back. 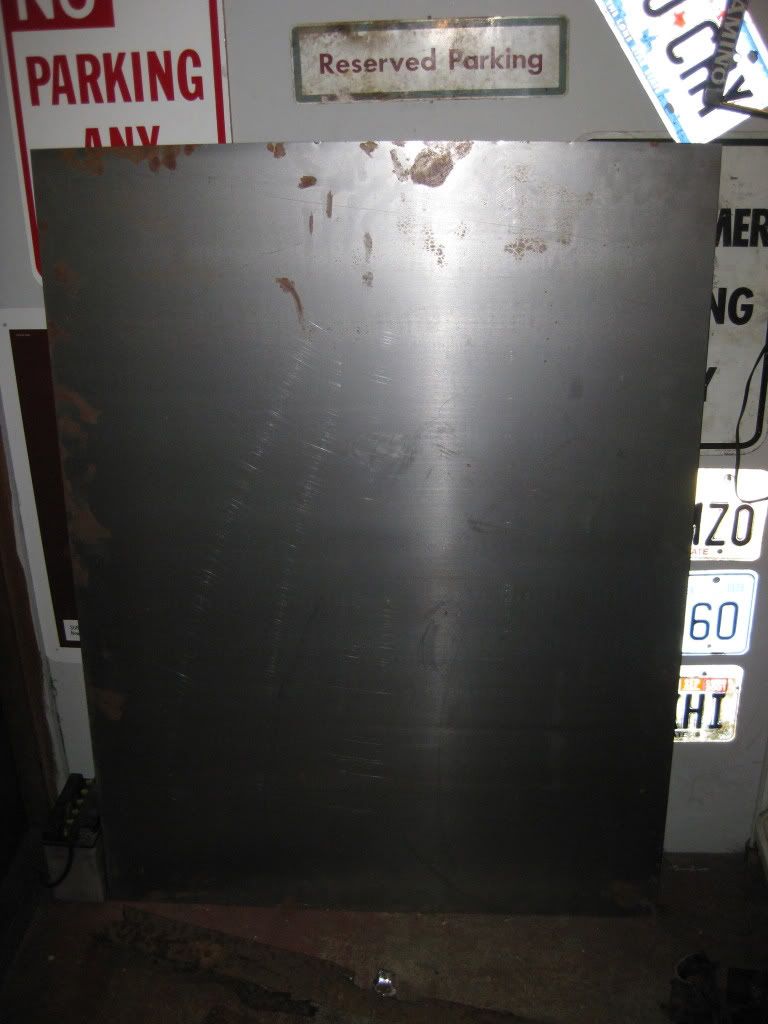 and made a pattern.  I then transferred it to the metal.  and cut it out with these( what a PITA, I need something better) 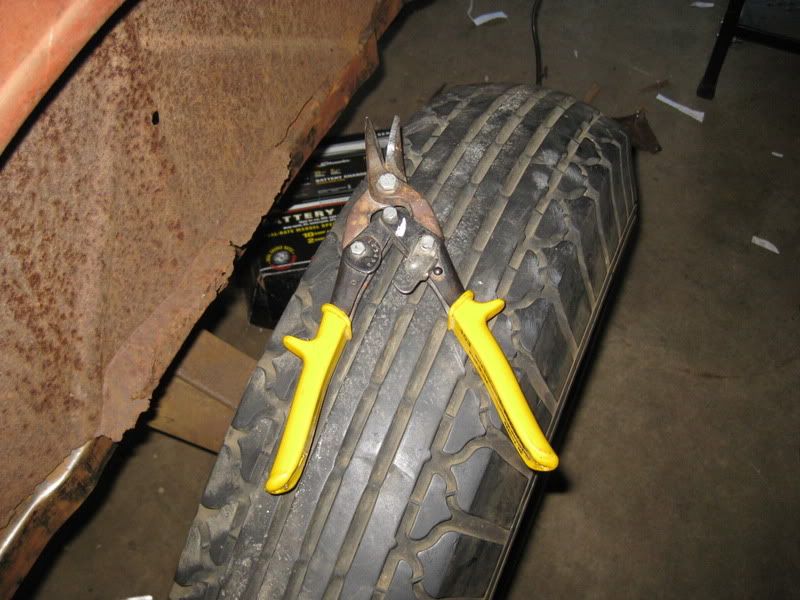 And started bending. 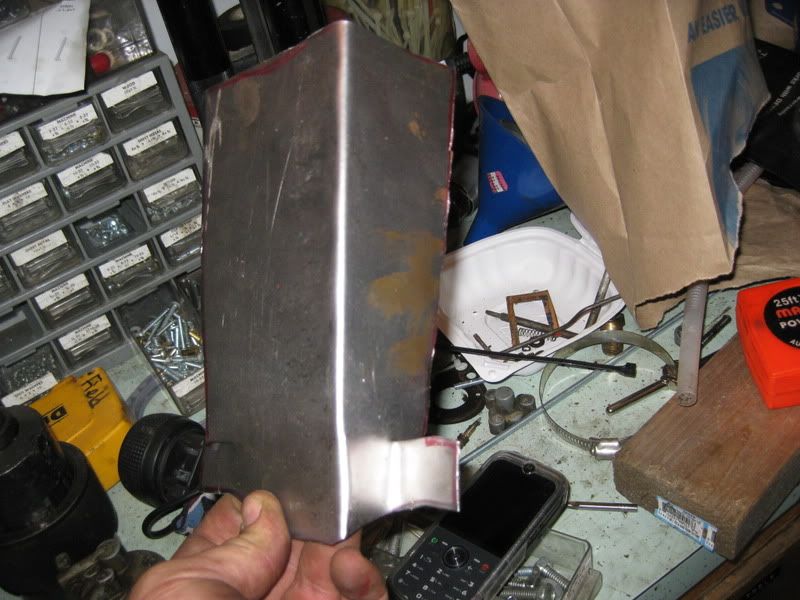   This was my first attempt.....  Kinda embarrassed. Kinda embarrassed. I did all this all with my vice, a piece of 1inch square tube. a hammer, and the back splash of my work bench. It at this point it needed some refinement.....
__________________
Matt in Seattle |
|
|
|
| Sponsored Links (Register now to hide all advertisements) |
|
|
|
09-09-2011, 08:59 PM
|
#3 |
|
Senior Member
Join Date: May 2010
Location: Seattle
Posts: 389
|
I kept on cutting, and things started looking like this.
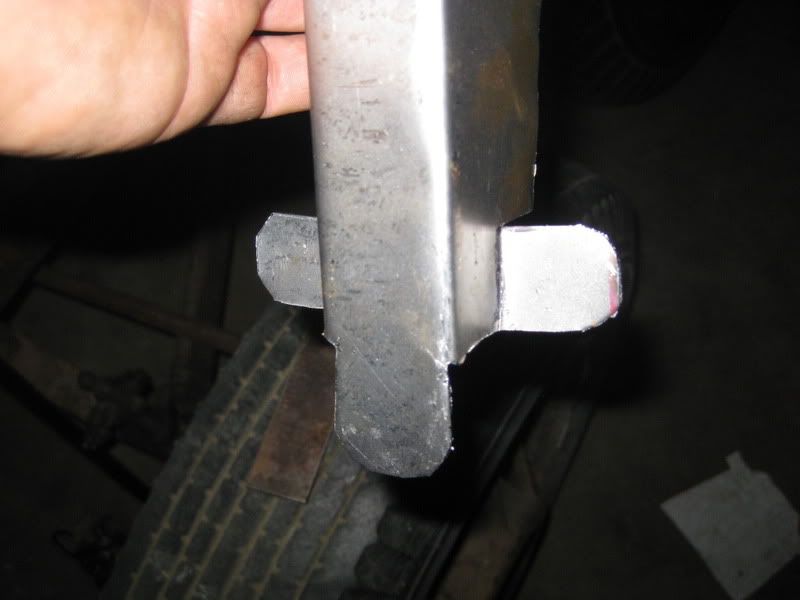 first test fit 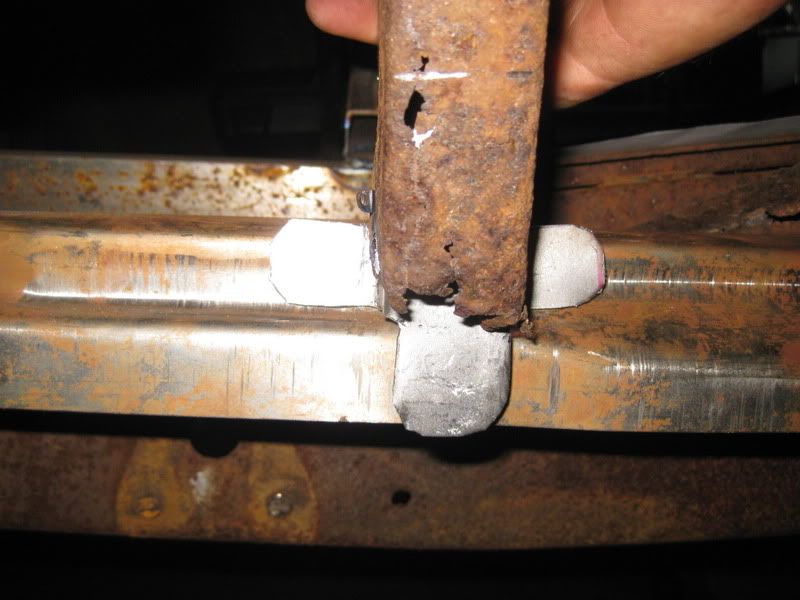 But it needs to look more like this. 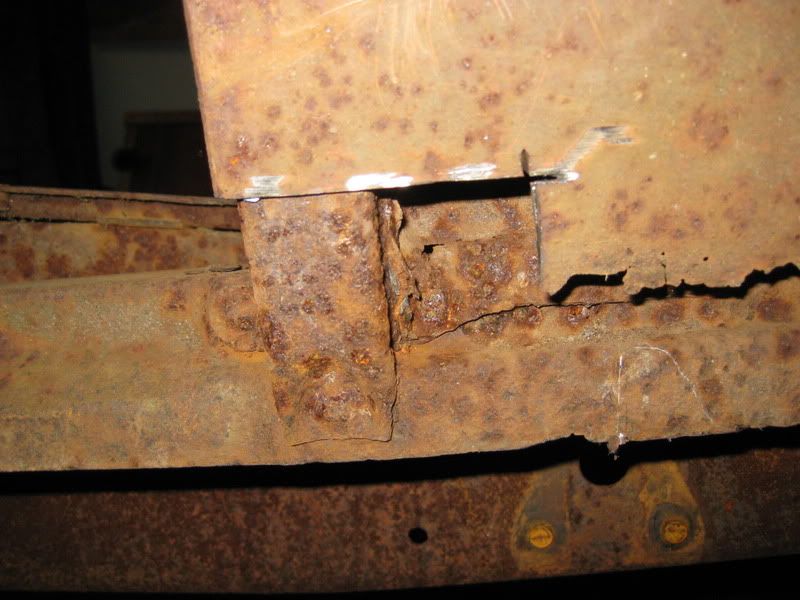 I just kept shaping things. 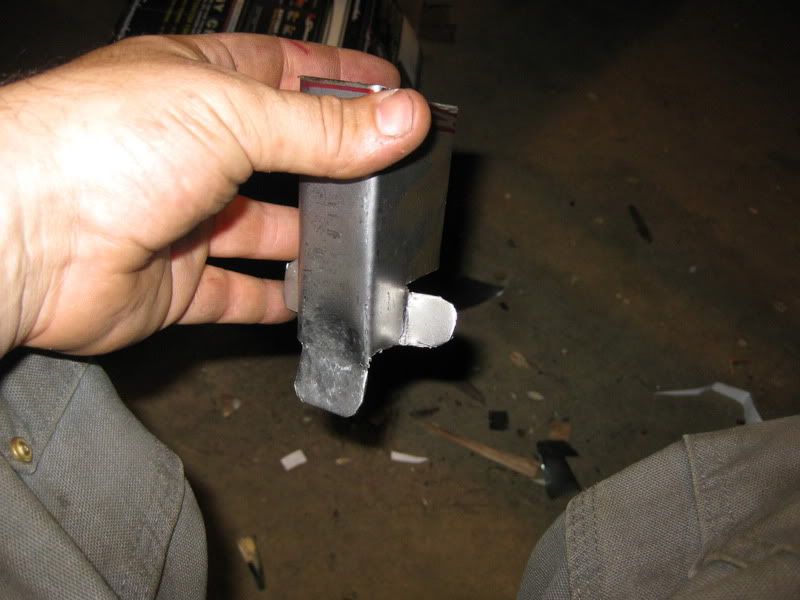 next thing you know, I'd cut out the b pillar.  More cutting, grinding, and filing. 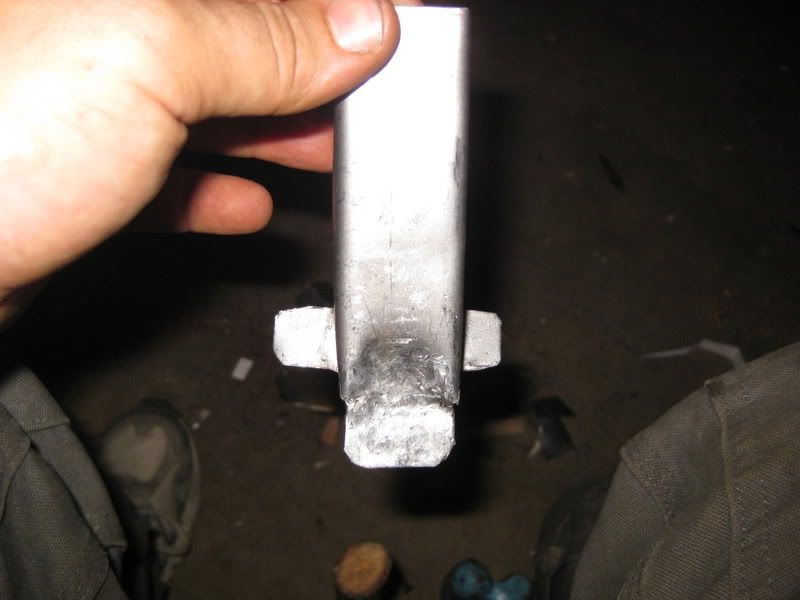 fitting a little better 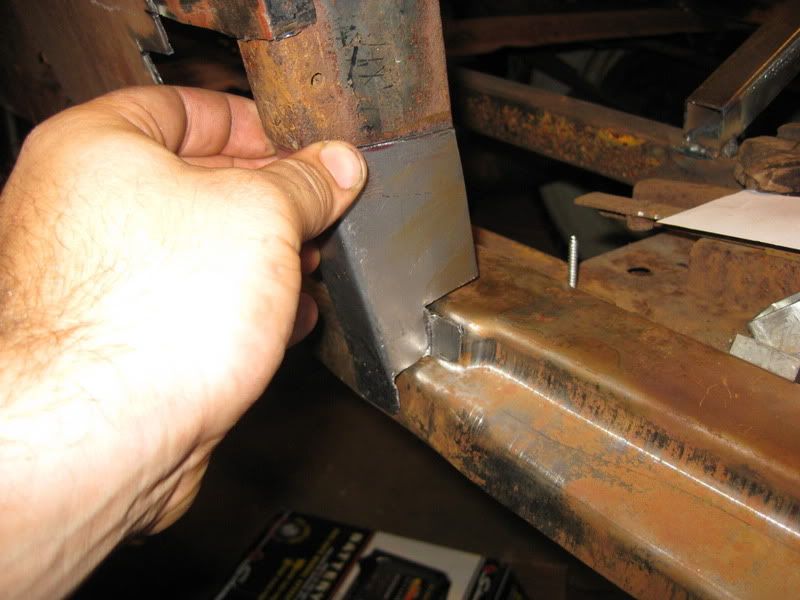 First test fit with clamps 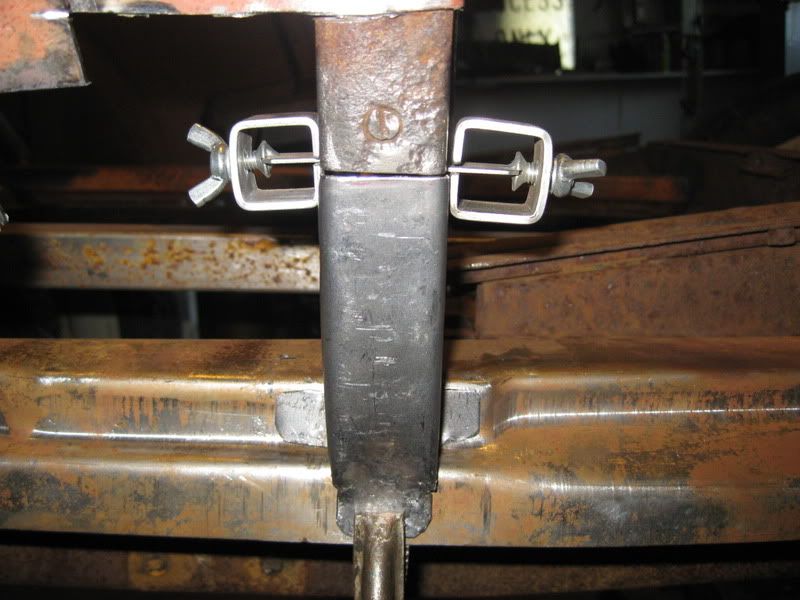  Welding soon.
__________________
Matt in Seattle Last edited by Hitchhiker; 09-09-2011 at 09:08 PM. |
|
|
|
|
09-09-2011, 09:01 PM
|
#4 |
|
Senior Member
Join Date: May 2010
Location: Seattle
Posts: 389
|
So about the gaps and clamps, I ended up having trouble practice welding with the clamps and old metal. I tended to burn threw a lot. With new metal, the clamps seemed fine. I ended up welding with vise grips as clamps.
 better gap 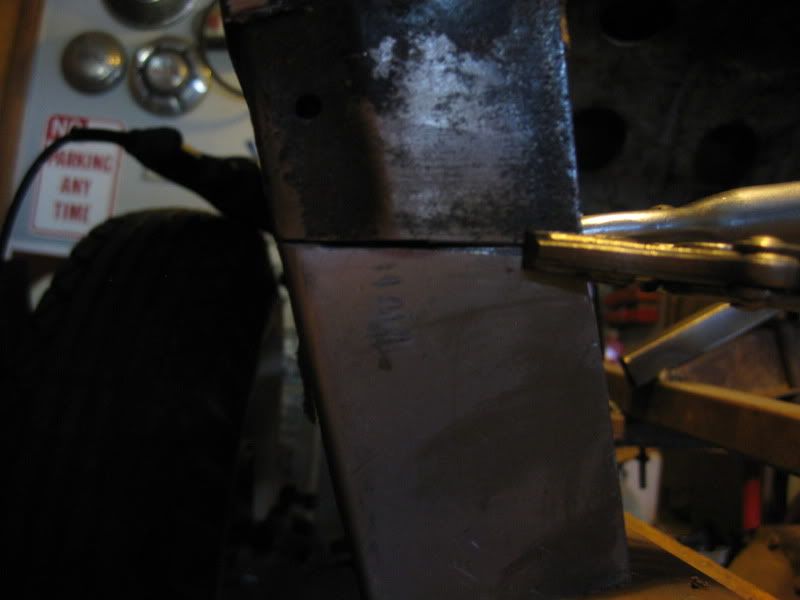 I ended up just tacking things together for now. I thought I might redo this piece again at at a later date. there is a line in the original that the quarter panel skin raps around so it is flush mounted with the rest of the pillar. I wasn't able to duplicate that at this time. But I feel good considering this is the first piece of metal I have ever shaped, even though it's amateur at best. On the bottom I used a sheet metal screw to hold things in place of a rivet. I plan on learning how to redo the stock rivets and want to be able to adjust things as I fit the doors and roof back on. ( Also I didn't chop the top, I'm just the one putting it back. If it was stock I would have left it. ) 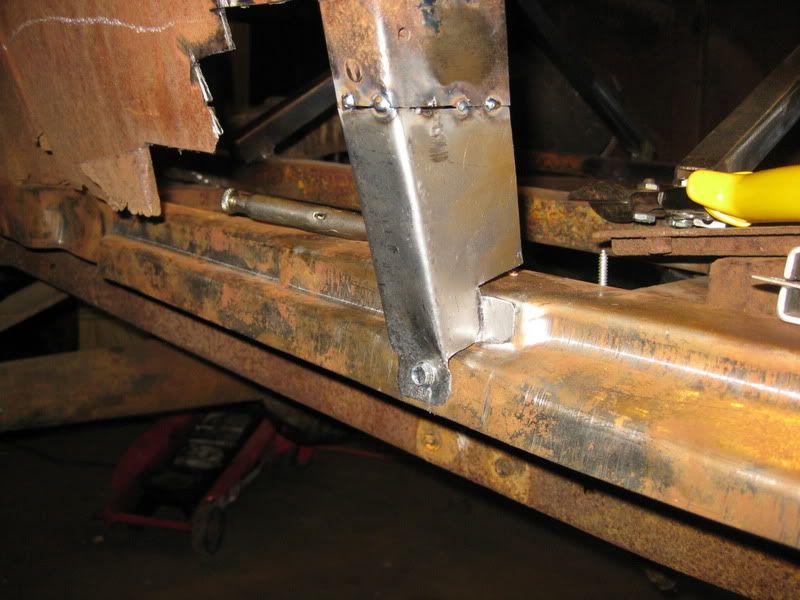 That's all for now.
__________________
Matt in Seattle |
|
|
|
|
09-09-2011, 09:01 PM
|
#5 |
|
Senior Member

Join Date: Oct 2010
Location: Grafton, MA
Posts: 1,226
|
Matt - interesting story. Fun to see what you are accomplishing. Please keep it coming.
|
|
|
|
|
09-11-2011, 01:15 PM
|
#6 | |
|
Senior Member
Join Date: May 2010
Location: Seattle
Posts: 389
|
Sponsored Links (Register now to hide all advertisements)
Quote:
__________________
Matt in Seattle |
|
|
|
|

|
09-11-2011, 02:49 PM
|
#7 |
|
Senior Member

Join Date: May 2010
Location: South Florida
Posts: 14,054
 |
Always great to see this stuff!!!
__________________
What's right about America is that although we have a mess of problems, we have great capacity - intellect and resources - to do some thing about them. - Henry Ford II |
|
|
|
|
06-27-2012, 02:02 PM
|
#8 |
|
Junior Member

Join Date: May 2012
Posts: 2
|
Nice job ~ I've got the same thing going on with my 31 coupe ~ someone decided to channel it about 20 years ago and never really finished it. Is there a way you could post some pix of how the body connects to the subrails? I've got to re-rail the entire thing and the more pix I see the better chance I have to get it right. Here's a few pix of mine ~ she's chopped about 6"
|
|
|
|
|
10-22-2021, 02:54 PM
|
#9 |
|
Junior Member
Join Date: Aug 2020
Location: Memphis TN
Posts: 13
|
I realize this thread is almost eleven years old, but my 29 tudor is in the same shape, and I have to do the same repair. Thank you for posting these pictures. It will be a big help to me.
|
|
|
|
|
«
Previous Thread
|
Next Thread
»
 Linear Mode

|
|

| Sponsored Links (Register now to hide all advertisements) |
|
|
All times are GMT -5. The time now is 06:03 AM.