|
|
#221 |
|
Senior Member
Join Date: May 2010
Location: Lancaster, CA
Posts: 917
|
Thanks Sal, you are too kind
__________________
Lancaster, California Visit hotrodreverend.com to view hundreds of pictures and videos of the build of the 1955 Ford Club Sedan! |
|
|

|
|
|
#222 |
|
Senior Member
Join Date: May 2010
Location: Lancaster, CA
Posts: 917
|
All parts except the seals and the hardware are what I removed from the car during disassembly. I did have to weld in a patch to the drivers side air dam...I think it is pictured earlier in the thread.
__________________
Lancaster, California Visit hotrodreverend.com to view hundreds of pictures and videos of the build of the 1955 Ford Club Sedan! |
|
|

|
| Sponsored Links (Register now to hide all advertisements) |
|
|
|
|
#223 | |
|
Senior Member
Join Date: May 2010
Location: Lancaster, CA
Posts: 917
|
Quote:
So basically bolt everything up front back together and then make the adjustments for hood movement, fender placement, appearance, etc, and then I can unbolt the outer fenders again so that I can get some light body work done. Once all of that is finished, will the rest of the front end stay solid and in place while I work on the fenders? If so, it would help me wire the car with the new harness I have... Don't need the outer fenders for that project.
__________________
Lancaster, California Visit hotrodreverend.com to view hundreds of pictures and videos of the build of the 1955 Ford Club Sedan! |
|
|
|

|
|
|
#224 |
|
Senior Member
Join Date: May 2010
Location: westbury ny
Posts: 854
|
i would start with the support then aprons you are still gonna have some movement for fenders to go forward and back when aprons are attached most of your left to right is going to be up front set your door gaps if you have a problem with the bottom being to wide you can jack the frame behind the fender like your changing a tire set your hood lines just snug your attaching points leave everything else loose till you get it to your liking its a lot of loosing and tightening but you will get it. the jack trick should help with the new cushion as that will push front of nose up good luck
|
|
|

|
|
|
#225 |
|
Senior Member
Join Date: May 2010
Location: Granite City, Illinois
Posts: 3,008
|
BTW, HRR, I made gaskets for the Magic-Air horns, both front and back flanges cut out of roofing felt (tar impregnated). Use the flanges themselves as a template, then mark the hole locations with a pencil and stamp out the holes with a hollow punch. For the duct that goes behind the riser wall on the fender apron, I cut gaskets out of 1/8 inch thick foam sheet. Again use the duct flange as the template and same hollow punch for the holes. This is a better seal since the metal in this location can be a little bit wavy. Actually, I duplicated the foam gaskets for the elbow duct that bolts to the cowl also. After bolting the elbows on, I used Grundy plastic cement to seal up the bolts so water won't get thru.
|
|
|

|
|
|
#226 |
|
Senior Member
Join Date: May 2010
Location: Lancaster, CA
Posts: 917
|
Sponsored Links (Register now to hide all advertisements)
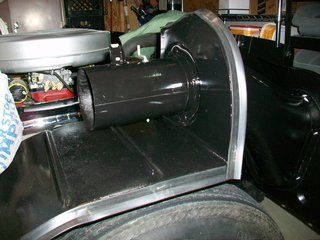
First plan was to make gaskets for the air tubes and vents. You can take a look at the photos - I had some neoprene stock lying around and a sheet of 1/8" rubber matting from a Canadian supplier, eh? The holes were punched out with an old socket - seemed to work well and we saved a little dough on the "manufacturing" this weekend. 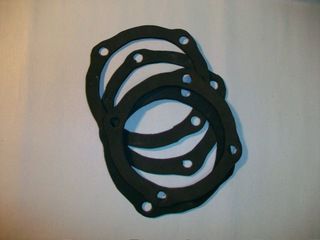 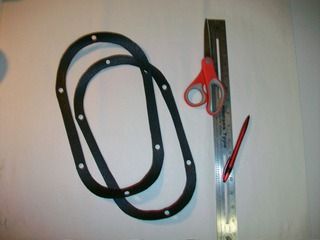 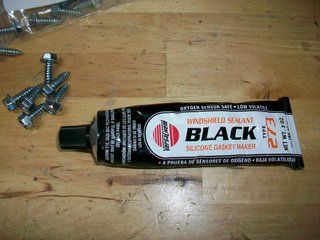 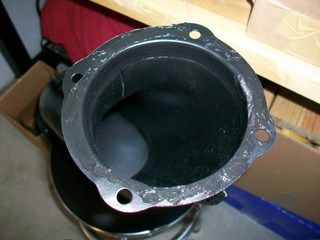 I used the sealer pictured above to seal all of the gaskets at the air tubes, but i used only the large gaskets themselves at the screen/air dam position. I also began installing the rubber grommets for the wiring harness to come soon. The kit pictured below is extremely handy for your firewall, fenders, and other sheet metal holes where you will have wiring pass through. With an electric fuel pump, electric fan, A/C to come in a year or two, etc, there will be plenty of extras what with relays and all the like. I have a Rebel Wiring Harness that I will use on this car for more circuits as needed. 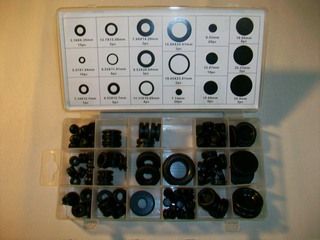 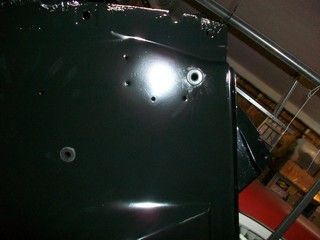 Back to the inner fender/air dam assemblies. Basically I decided to assemble the air dam, vent tube, air deflectors (small tubes that direct the flow of air), and the inner fender while all parts hung from my paint rack. Before I could get to hardware though the rubber splash guards had to be installed - you know the ones - they have those pesky staples that hold them in place. I had saved my old guards and referenced the original holes from the staples, punching small holes with an awl so that I could push a staple through. After doing that, the holes were lined up perfectly (well, as perfectly as the factory had done so!) and the staples were pushed through their original holes and then hammered down on the other side while a vise grip kept it tight. I am HAPPY with the installation and they are holding tightly. 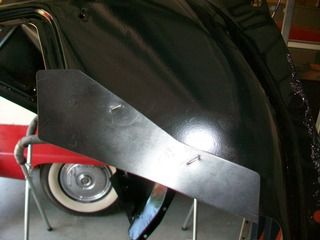 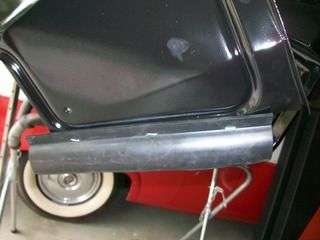 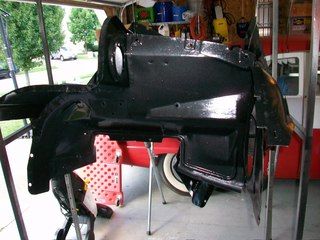 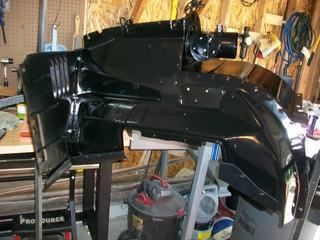 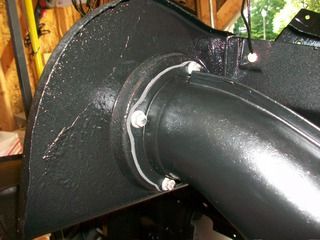 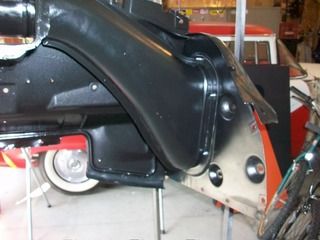 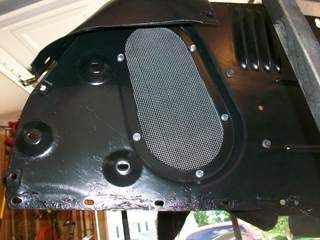 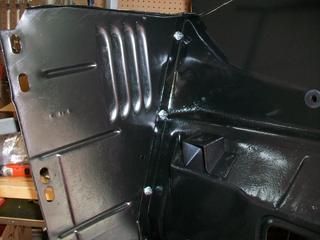 More in the next post... don't want to exceed any limits on pictures and what have you 
__________________
Lancaster, California Visit hotrodreverend.com to view hundreds of pictures and videos of the build of the 1955 Ford Club Sedan! |
|
|

|
|
|
#227 |
|
Senior Member
Join Date: May 2010
Location: Lancaster, CA
Posts: 917
|
A little word about hardware. I had broken quite a few of the old pieces of hardware, be it a J nut for the fenders, a nut/bolt combo that I had to gorilla in two to remove it, etc.
I decided to purchase a kit that was advertised as being all of the nuts and bolts you need for the front end sheet metal.... 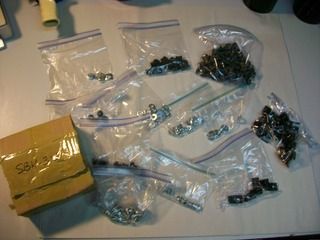 Do not be confused here. Every little bolt, washer, nut, etc, came in that box on the left AND WAS NOT BAGGED. The separation was done by yours truly, and alas we found that pieces are missing. First up: 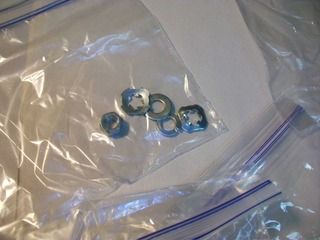 If you know your fenders, the above picture is the hardware needed to bolt the rear of the fender at the middle THROUGH THE BODY and access the nut by removing the kick panel. Note - we have enough to do one fender... thankfully I saved everything so I am sure I have what I need, just have to dig it out. Next up... this little photo: 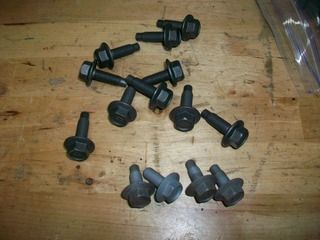 When bolting the air dams to the U support of the radiator, I discovered that there were none of the shorter bolts included in the kit. All were the same size, and too long for the U support (bottom'd out pretty easily with room to spare at the head). YOU WILL NEED the smaller bolts I have pictured - these are half of them. Kits may save time because you don't have to sit and measure, count, inventory every little piece you need, but when the kit does not meet your needs... well, that ain't fun.  Said kit ain't cheap either. Ok, rant over. That was basically the worst of it today with the installation. 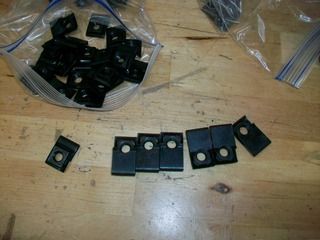 Note the photo immediately above. The 6 longer J nuts are in the picture being shown against the shorter size of most of the J nuts that go on your front end (the 5/16" diameter J nuts anyway, you do have some smaller 1/4" elsewhere) well, anyway they go on the inner fender at these locations, 3 a side: 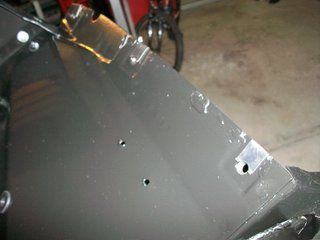 Here are some photos of my makeshift battery tray, battery, and starter solenoid removed and both sides of the inner fenders and air dams/tubes installed!  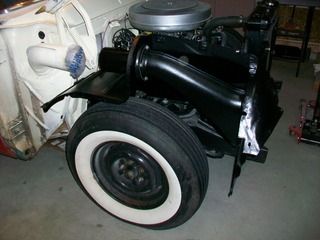 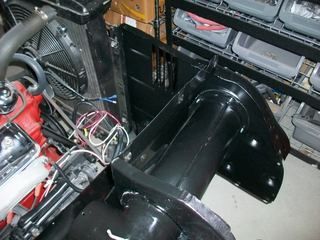 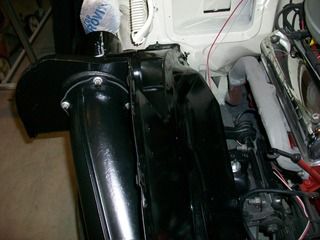 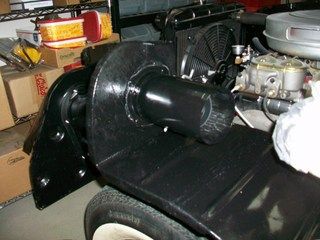 Next up is to get the seals on both sides installed (if your eyes are pretty good you may have noticed in the photos that these are not yet attached) rear splash guards installed, work on the gravel pan and get it ready to install, ready the bumper brackets, and then grab the fenders to see what we've got! 
__________________
Lancaster, California Visit hotrodreverend.com to view hundreds of pictures and videos of the build of the 1955 Ford Club Sedan! |
|
|

|
|
|
#228 |
|
Senior Member
Join Date: May 2010
Location: Lancaster, CA
Posts: 917
|
Took some time today to update my air compressor lines in the shop - needed to get some more cfm to the HVLP guns. You can see the thread here... https://www.fordbarn.com/forum/showth...90#post1325990
__________________
Lancaster, California Visit hotrodreverend.com to view hundreds of pictures and videos of the build of the 1955 Ford Club Sedan! |
|
|

|
|
|
#229 |
|
Senior Member
Join Date: May 2010
Location: Lancaster, CA
Posts: 917
|
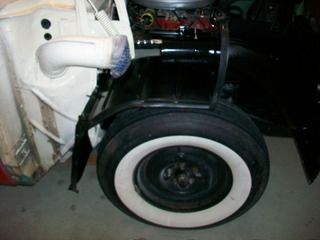
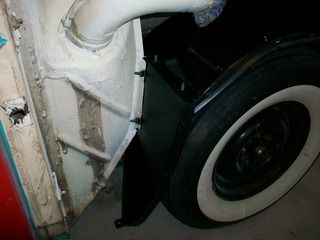
Got around to installing what Ford called the "anti squeak seal" on the inner fenders. I used the original holes for the staples and a little bit of sealant where I thought it was needed. Only had enough to do one side. I guess when I ordered this stuff last year I obviously did not read very well - needed two "kits" to get one car completed.
   It has been so hot out here lately I decided to work on the fenders in the basement this evening. They both needed to have all of the hardware and stainless removed. I was amazed to find the original clips had held the SS to the fender so tightly. When I began removing the nuts on the under side they began disintegrating - this is about 1/3 of the dust. The driver's side fender was much worse than the passenger side concerning surface rust. You can really see the rust after the SS trim was removed... and of course the original Sea Sprite Green and Snowshoe White. 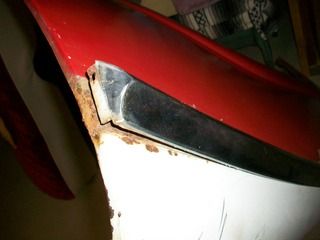 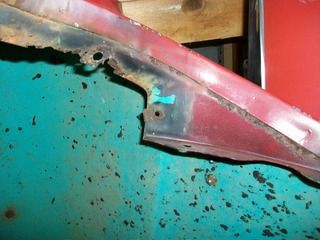 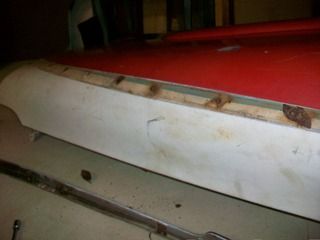 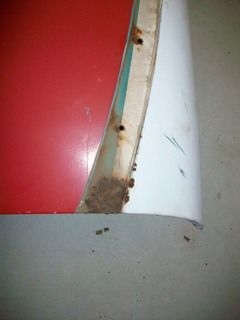 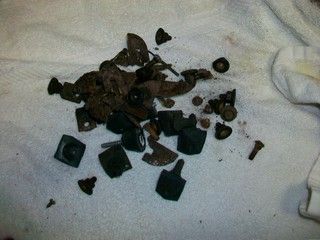 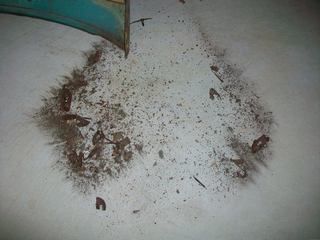 I feel embarrassed to say that I cannot make out completely what the original shape of the clips actually is supposed to be. I do have some idea. It looks as though there are 10 a side of course, but the two at the very front had a very different shape/size to them. I got out a Restoration Specialties Catalog and looked at clip number 2517 - that looks like the original 8 one each side, but I have no idea about the other two. Anybody have any ideas? Or is there a better clip somewhere?
__________________
Lancaster, California Visit hotrodreverend.com to view hundreds of pictures and videos of the build of the 1955 Ford Club Sedan! |
|
|

|
|
|
#230 |
|
Senior Member
Join Date: May 2010
Location: Lancaster, CA
Posts: 917
|
Not too much time spent in the garage lately, I have been traveling out more than I have been at home. I did get a chance to get in to things a little bit tonight before I head out to Easthampton, Massachusetts tomorrow (anyone live out that way?
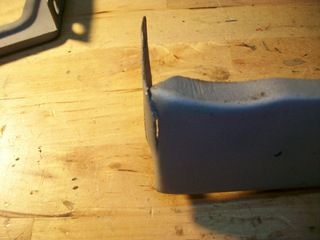
 ) )It shouldn't surprise me but I keep finding bits and pieces of sheet metal, brackets, etc that need to be welded up. Take for instance the gravel pan here. I had forgotten that the side piece pictured had just come right off with the passenger side fender. It looked to be spot-welded to the pan, but as you can see when I started it needed to be "straightened up". 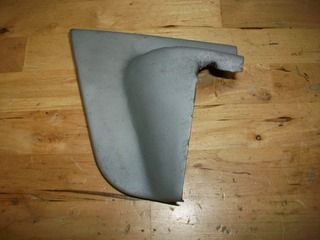 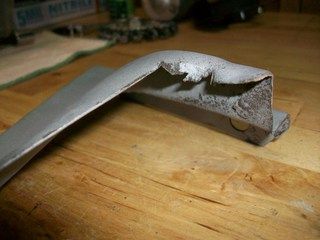 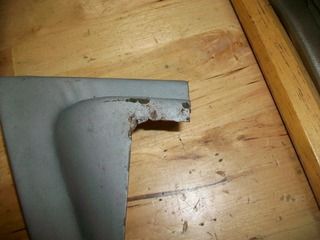 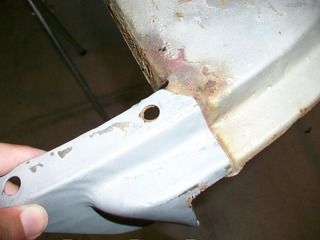 I ended up fitting it several times and doing some hammer work to get it nice and lined up. After that I drilled some small holes to the small apron piece and then put the vise grips on to keep it tight and in place. 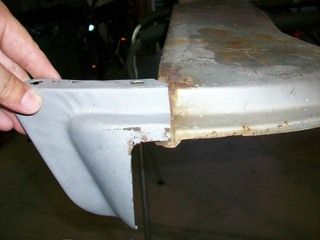 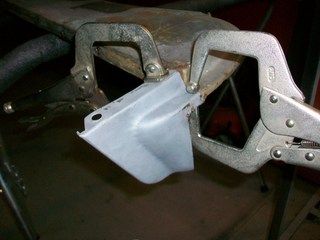 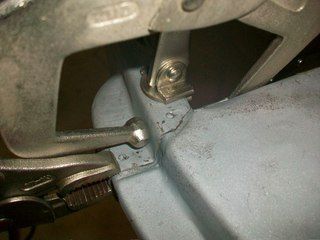 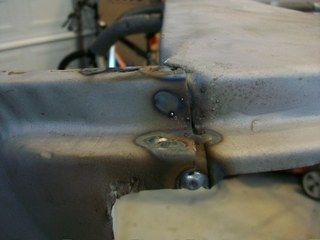 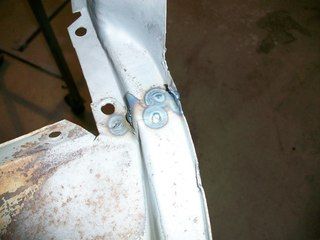 I don't think it is going to come apart any time soon. I did make sure to clean up as much of the surface rust as possible on both parts to give me a clean weld. Next up was some blasting work in the cabinet on small brackets and the aprons that go over the top of the upper control arms. 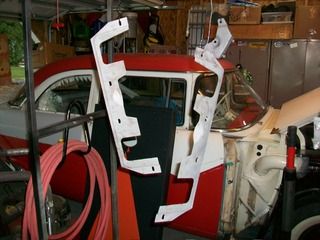 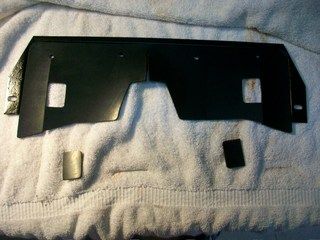 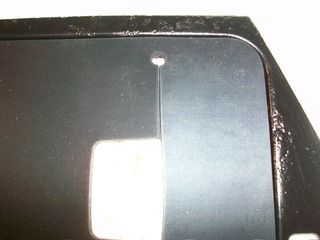 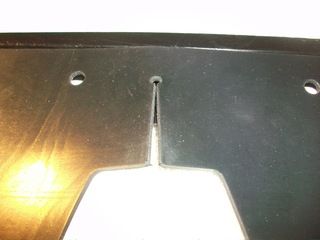
__________________
Lancaster, California Visit hotrodreverend.com to view hundreds of pictures and videos of the build of the 1955 Ford Club Sedan! |
|
|

|
|
|
#231 |
|
Senior Member
Join Date: May 2010
Location: Lancaster, CA
Posts: 917
|
These thin sheet metal flanges and the rubber was not on the 55 when i disassembled the front end a long time ago. I had to pick these up from another 55. So.... I had to find out that the flanges are specific to each side (drivers or passengers) and of course the rubber guard has to match as well. The originals were stapled, but the new ones came in without any staples. When I got to looking at, the cap screws should keep everything nice and tight so we will forego the staples on these pieces.
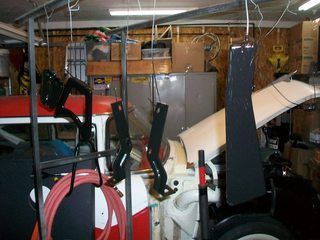 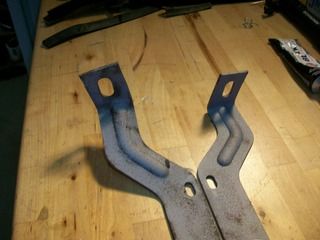 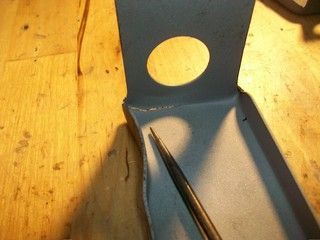  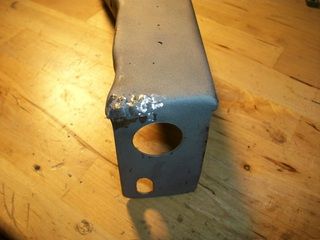 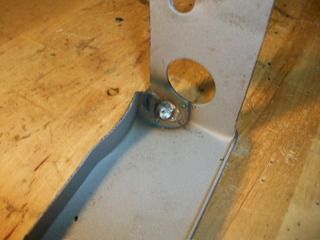 I cleaned up some of the grille and gravel pan brackets as you can see but before painting I had to weld up the cracked piece. I guess it will hold, the welds looked like they went straight through. Got quite a bit to do... hopefully in September I can get down to cleaning up the fenders and getting that body work done. I have ordered the drivers side anti-squeak seal from two different companies, both back ordered -  fun stuff. fun stuff.About to place an order from C&G, but their dash bezel seals are on back order too.  I guess everyone else is like me trying to get things done this month! I guess everyone else is like me trying to get things done this month!
__________________
Lancaster, California Visit hotrodreverend.com to view hundreds of pictures and videos of the build of the 1955 Ford Club Sedan! |
|
|

|
|
|
#232 |
|
Senior Member
Join Date: May 2010
Location: Granite City, Illinois
Posts: 3,008
|
HRR, those Dorman body side molding clips will work for some of the locations to hold the front fender spears down, but I recall having some trouble, so I made my own clips particularly near the ends of the trim due to the shape.
I cut to fit pieces out of 18 ga sheet stock and drilled holes for 1/2 inch long pan-head machine screws. I welded the heads of the screws to the clip and ground smooth so the weld would not hang up under the molding when attempting to insert and slide it in. Before installing the clip, I treated it with acid etch, primer, and cheap rust-oleum black enamel. |
|
|

|
|
|
#233 |
|
Senior Member
Join Date: May 2010
Location: Granite City, Illinois
Posts: 3,008
|
I can recall having to do that same thing with that splash pan end piece, but I didn't have those nice vice grips, but I got away with using three "C" clamps to get it fitted right for welding back onto the splash pan. Yep, mine also had the same damage done by the bumper bracket, so more hammering, welding and grinding to get it back in shape.
|
|
|

|
|
|
#234 |
|
Senior Member
Join Date: May 2010
Location: westbury ny
Posts: 854
|
rev they make a weld thru primer for such pieces as your gravel pan
|
|
|

|
|
|
#235 |
|
Senior Member
Join Date: May 2010
Location: Lancaster, CA
Posts: 917
|
It's been a very busy August - traveled thousands of miles literally and been in several different states. Nope, not vacation either - all work/church ministry related in training people. I have not been home very much at all. This weekend I am "off" like many of us so I decided to hit it hard with the 55 Ford and do as much as I can.
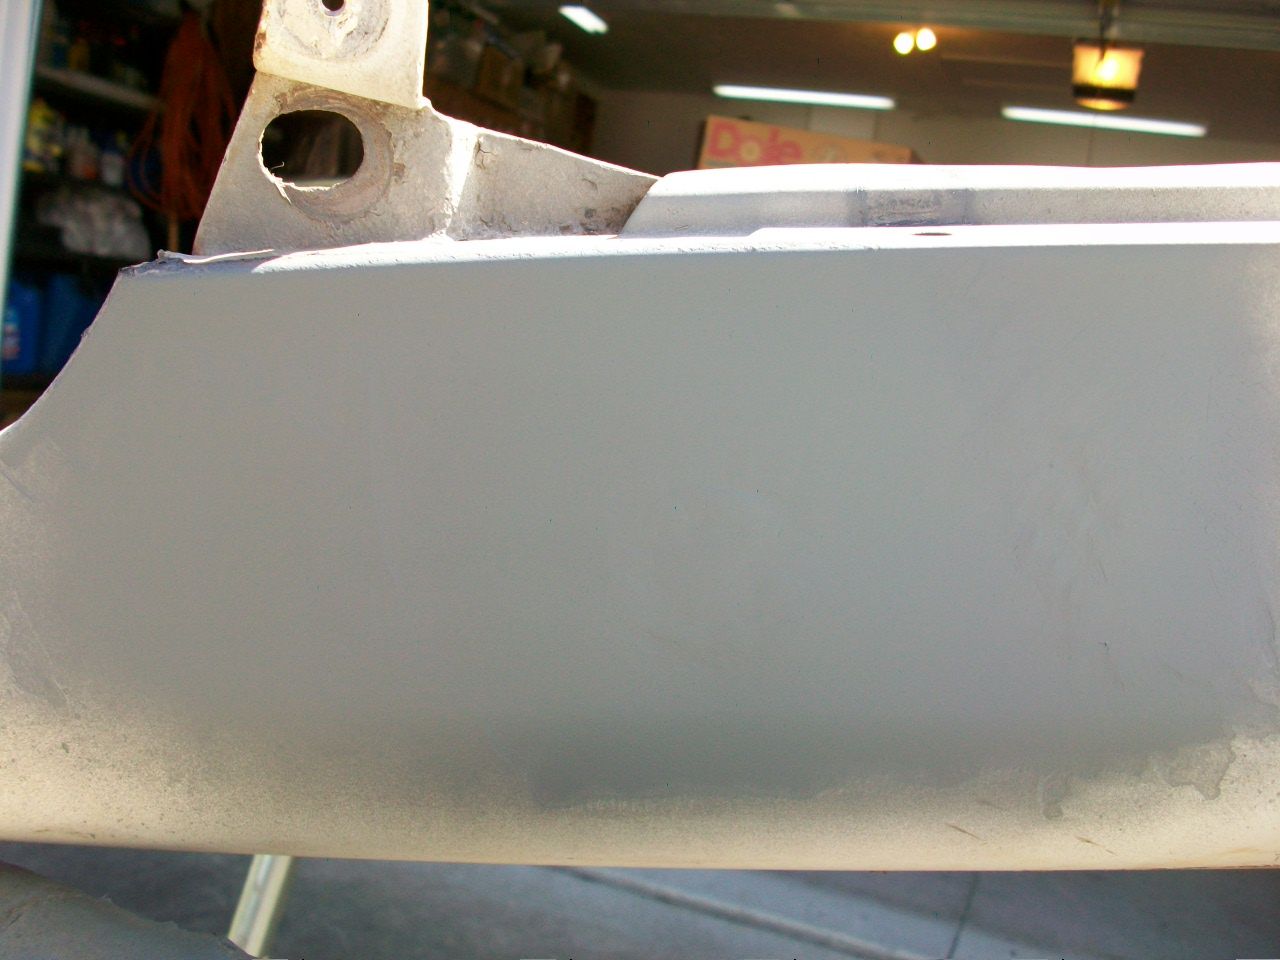
First things first - take a look at the sandblaster nozzle and stopper. Think it's time for a new one?  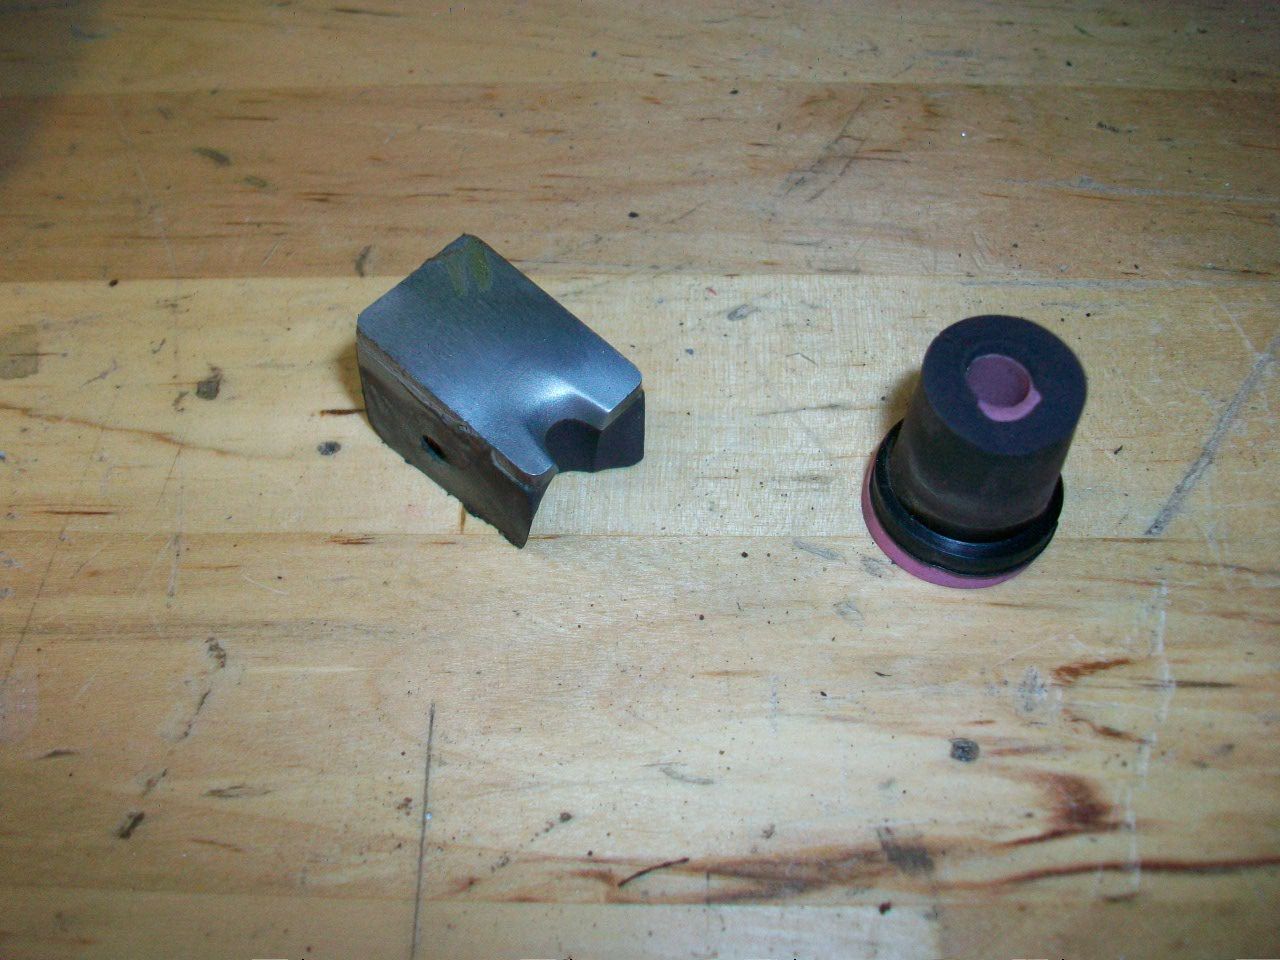 Found new parts at the local TSC and we are good to go. On the Gravel Pan, I really wanted to find an Argent color that I could use but did not want to go the spray can route. I favor my gun as much as I can. So what to do? Let's see.... time to experiment and make our own. Here is a photo of the two colors I mated. The top is Rustoleum Aluminum and the bottom is ACE hardware gray. 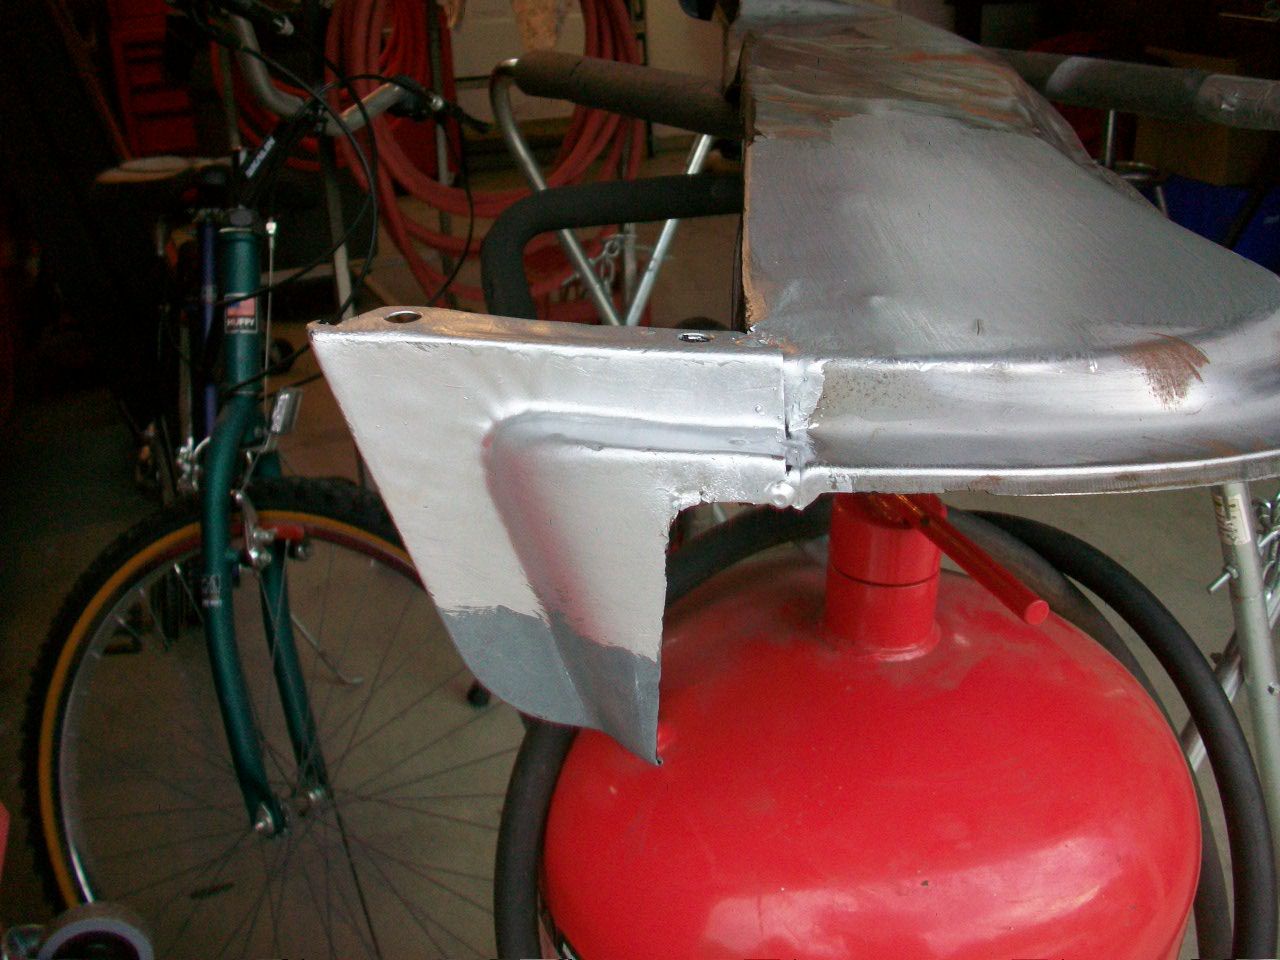 I put some of the dark gray in with the aluminum a little at a time and voila! 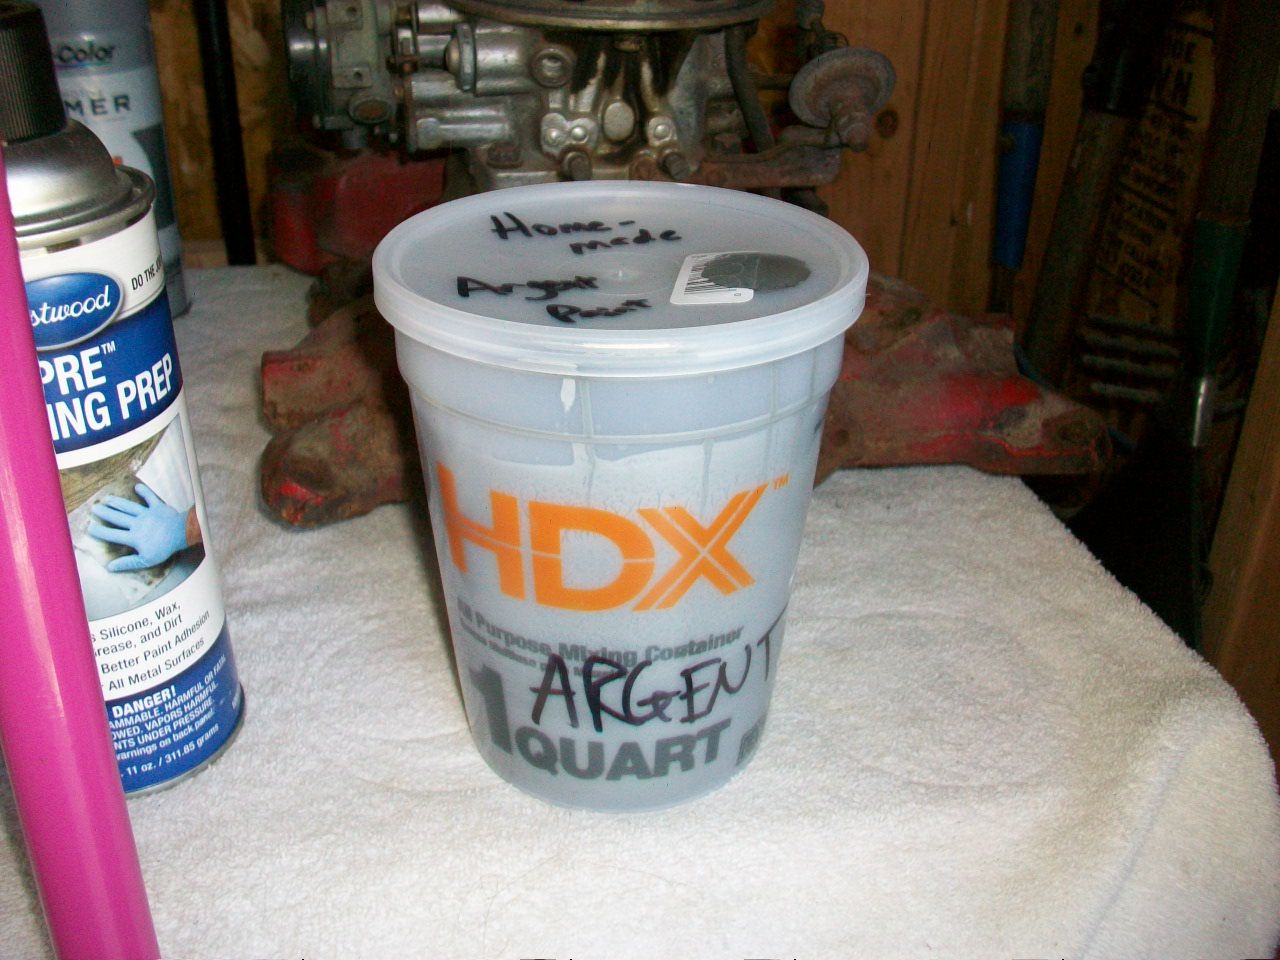 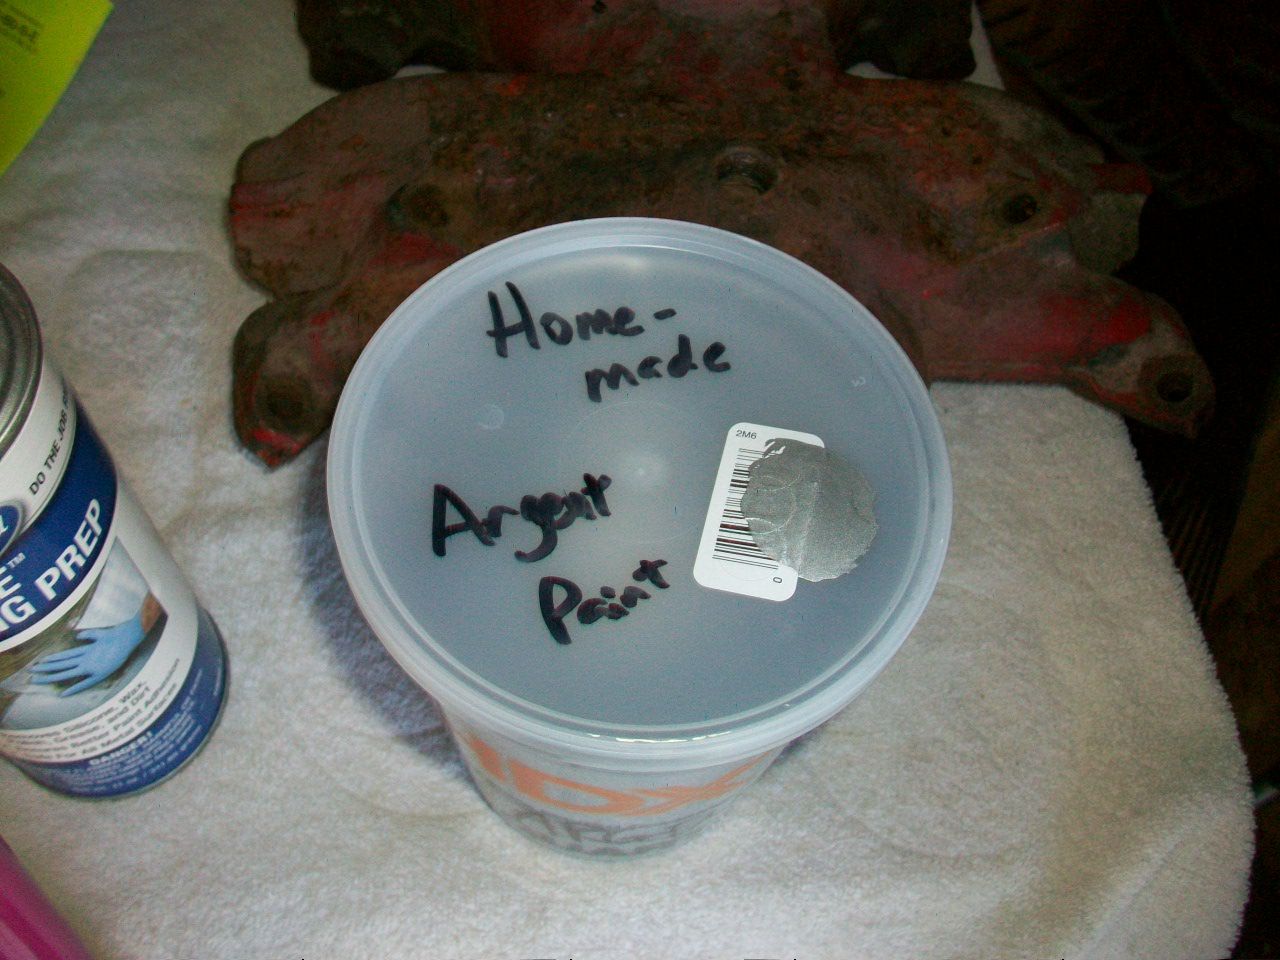 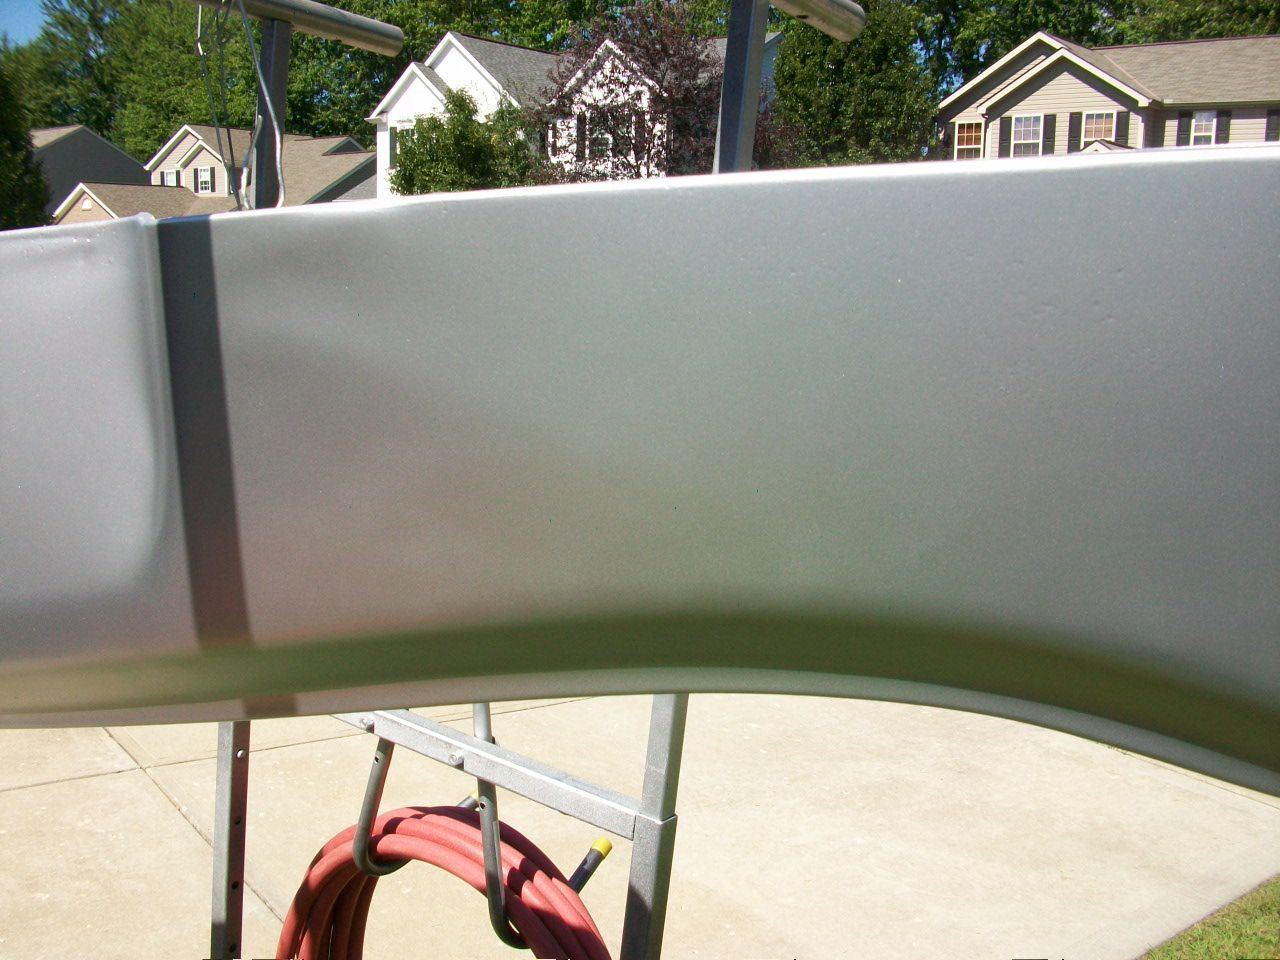 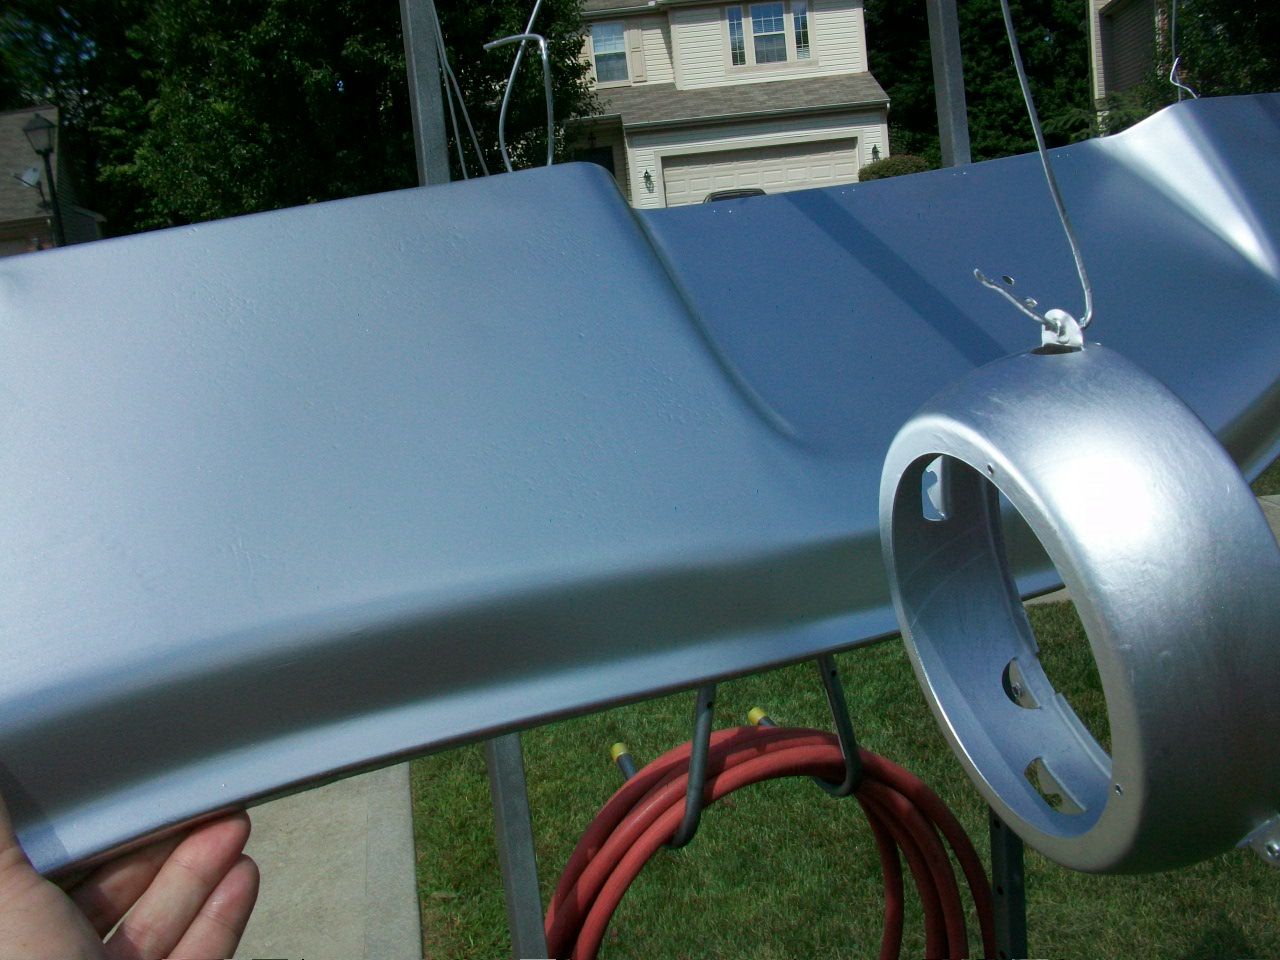 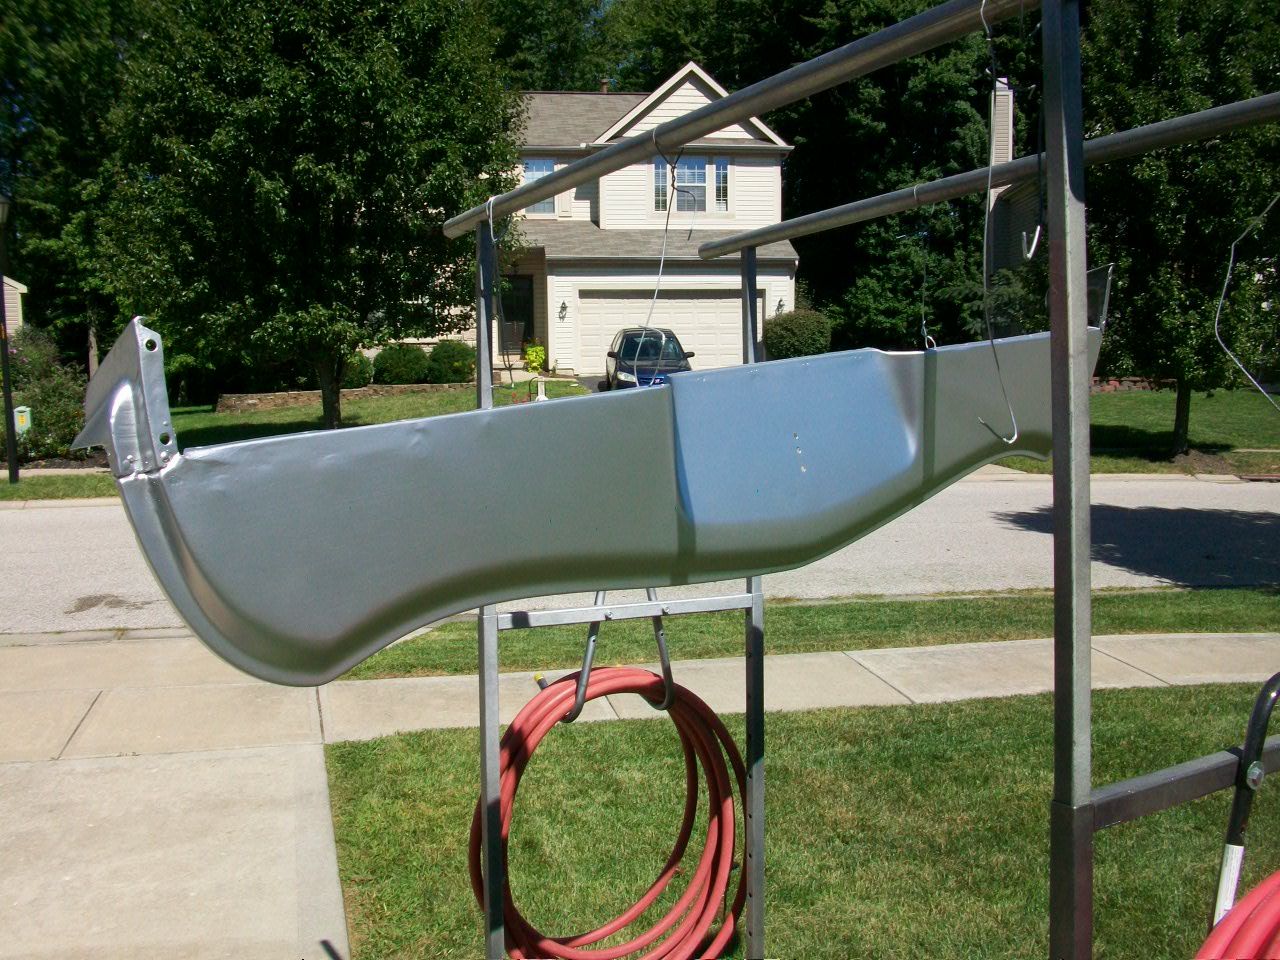 The photo of the headlight adjuster frame and the gravel pan together give you a point of reference. Hard to tell on a digital photo, but the headlight adjuster frame is Rustoleum Aluminum and the gravel pan is my Argent color. I like it, and I like the fact I can spray what I need through my gun. Then it was on to tackling the passenger side fender. The PO had a pet chipmunk that had wallowed out a hole for the antenna. You can see how this hole was all cobbled into the fender here... 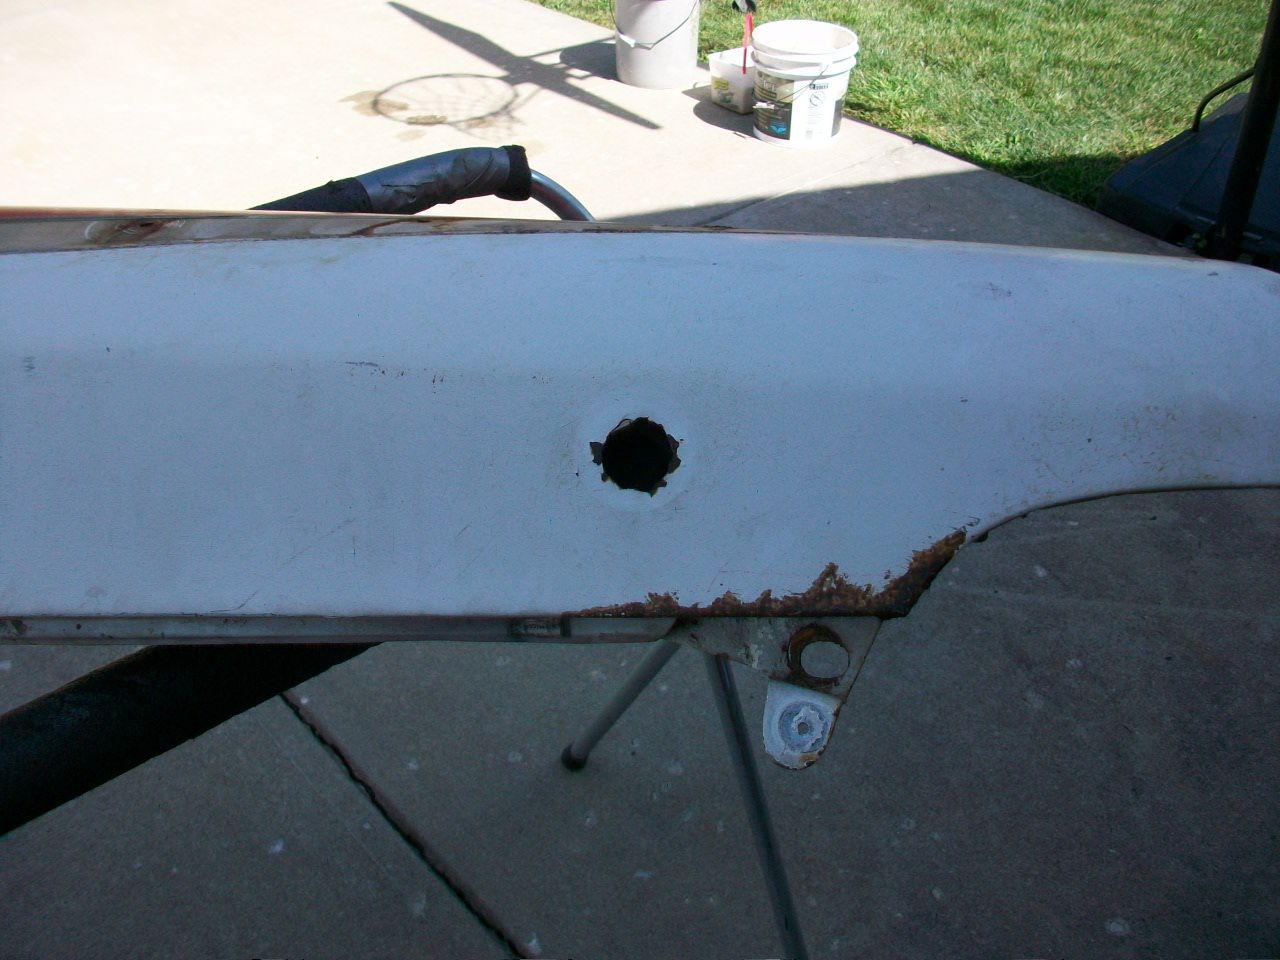 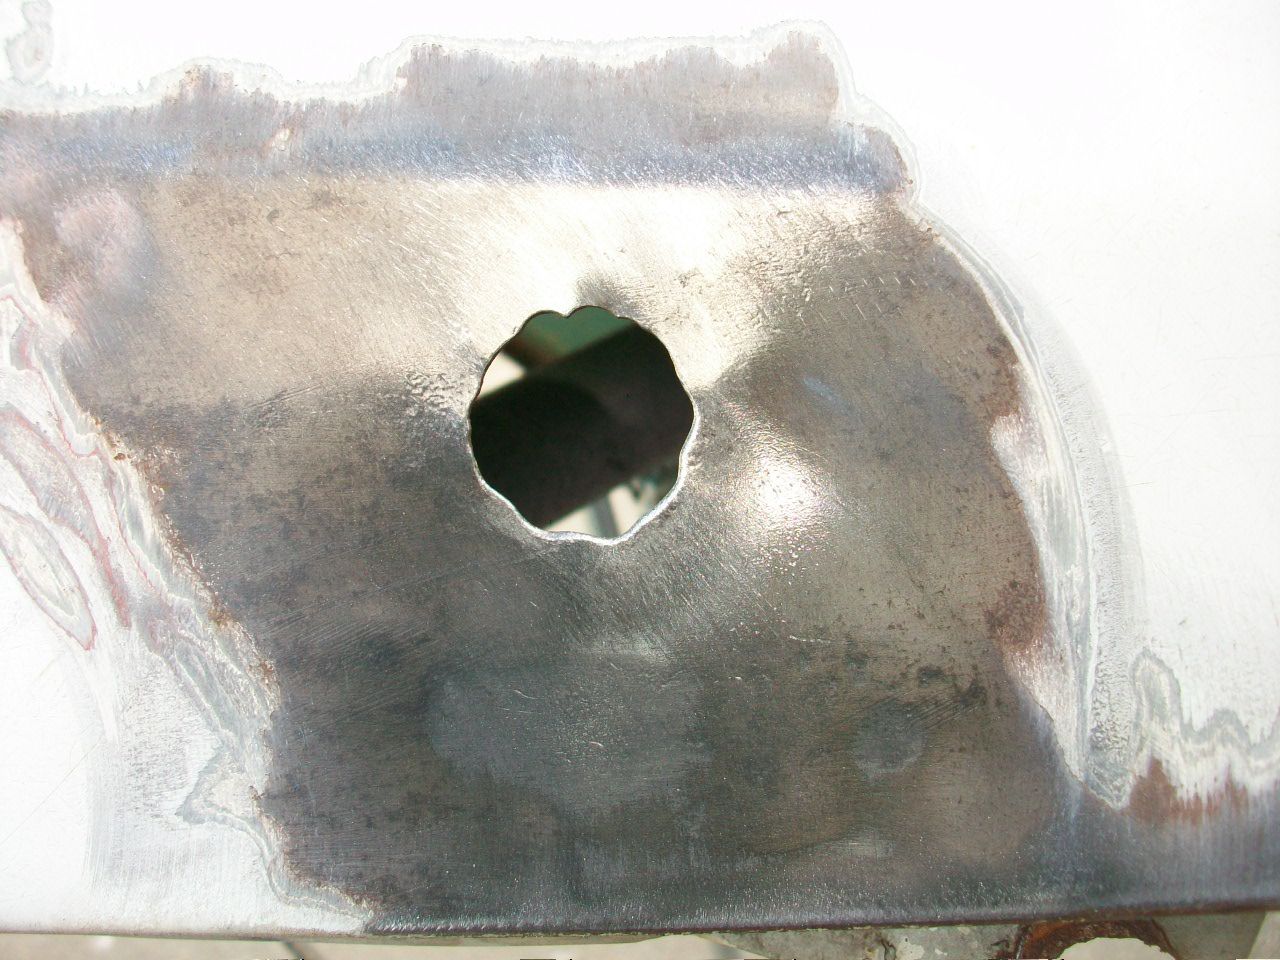 I guess it's not too bad, but I did not want to put an antenna there when I repaint... planning on using just one rear antenna. At any rate, it was time to cobble it back to flush with the sheet metal!  I am no professional welder, but I will show what I did. You professional body men chime in here please. I am sure there is more of this work I will have to tackle at different points soon. Basically, I took a wire wheel and cleaned both sides of the metal, inside and out. 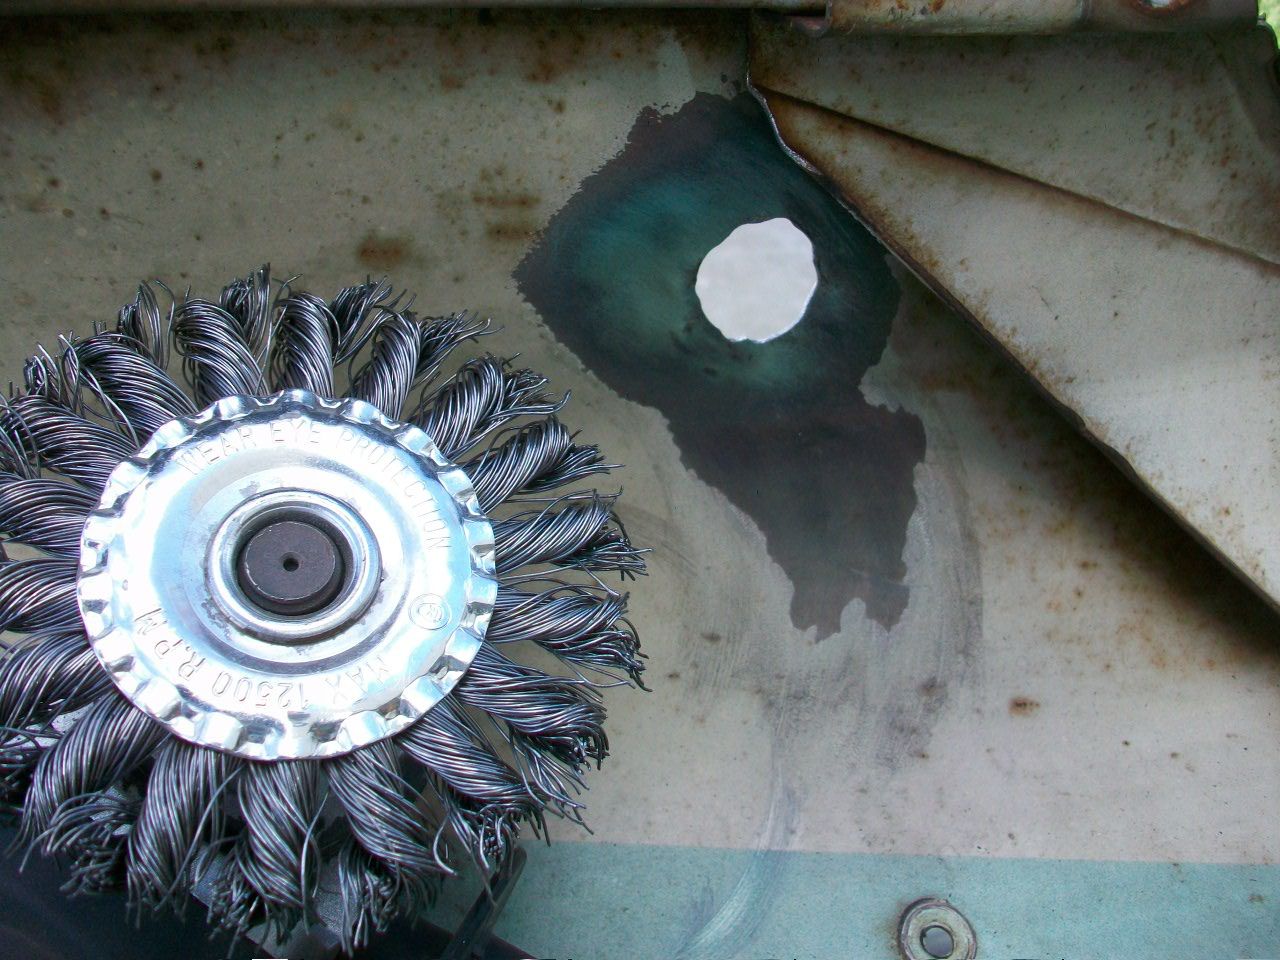 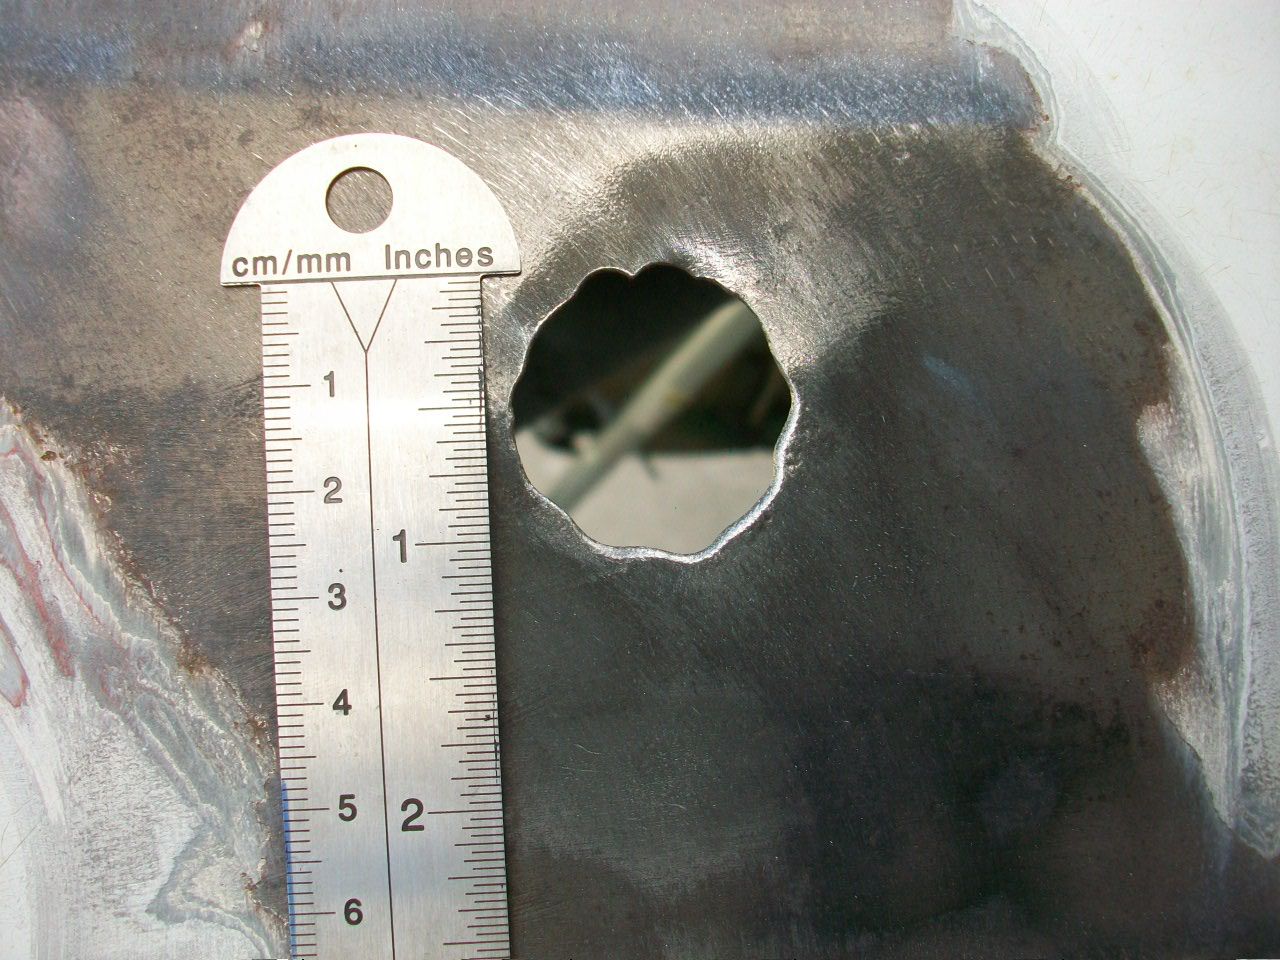 Then it was on to an air grinder so we could smooth out the hole. 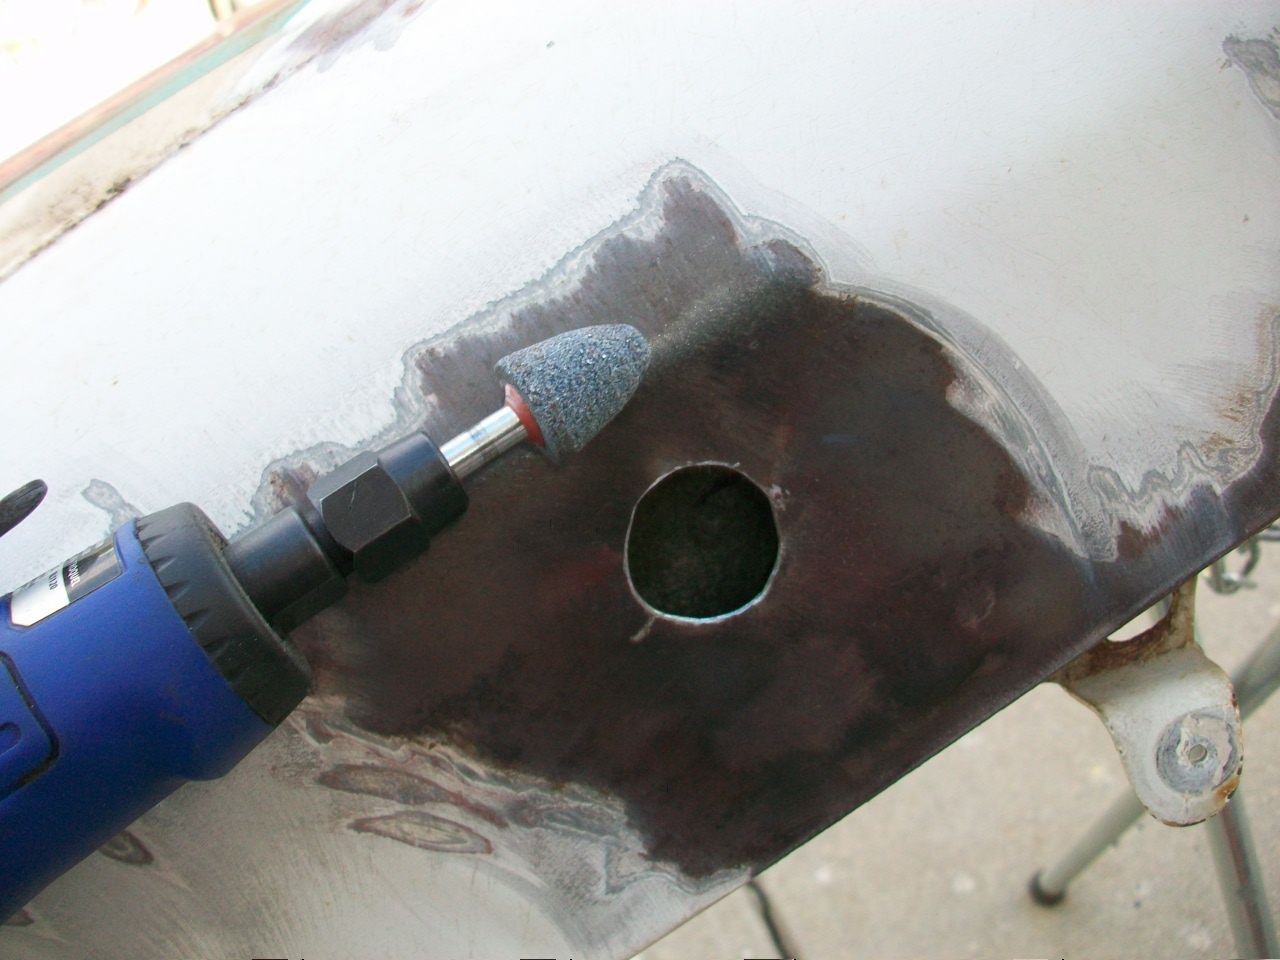 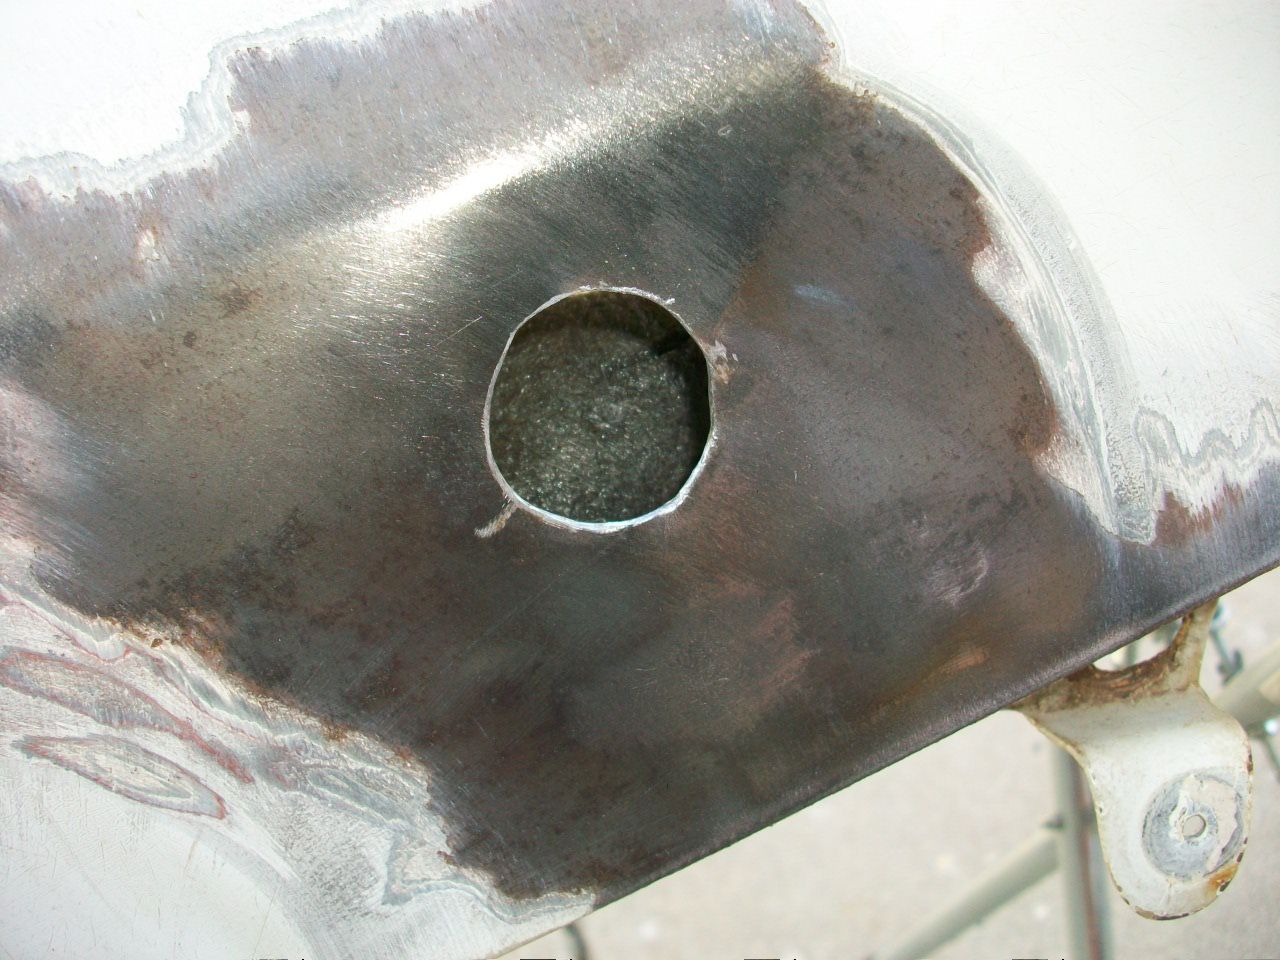 After that, I took a stiff piece of paper and copied the circle shape with a pencil, cut out the shape, and then transferred that to a piece of sheet metal the same thickness as the fender. 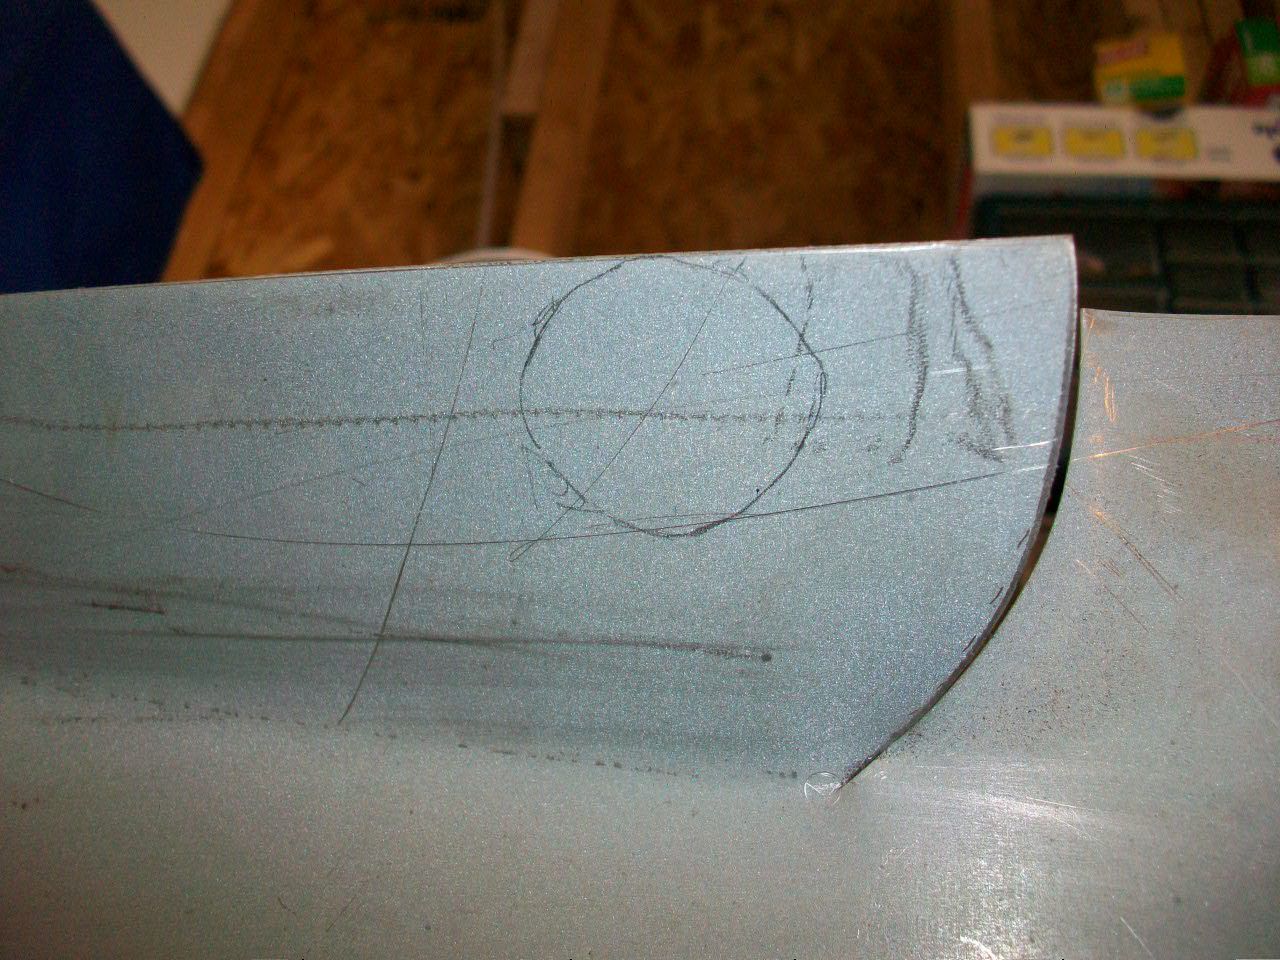 After some judicious grinding and shaping, we had a good fit to the hole. So i got out a magnet and put it flush with the fender like so... 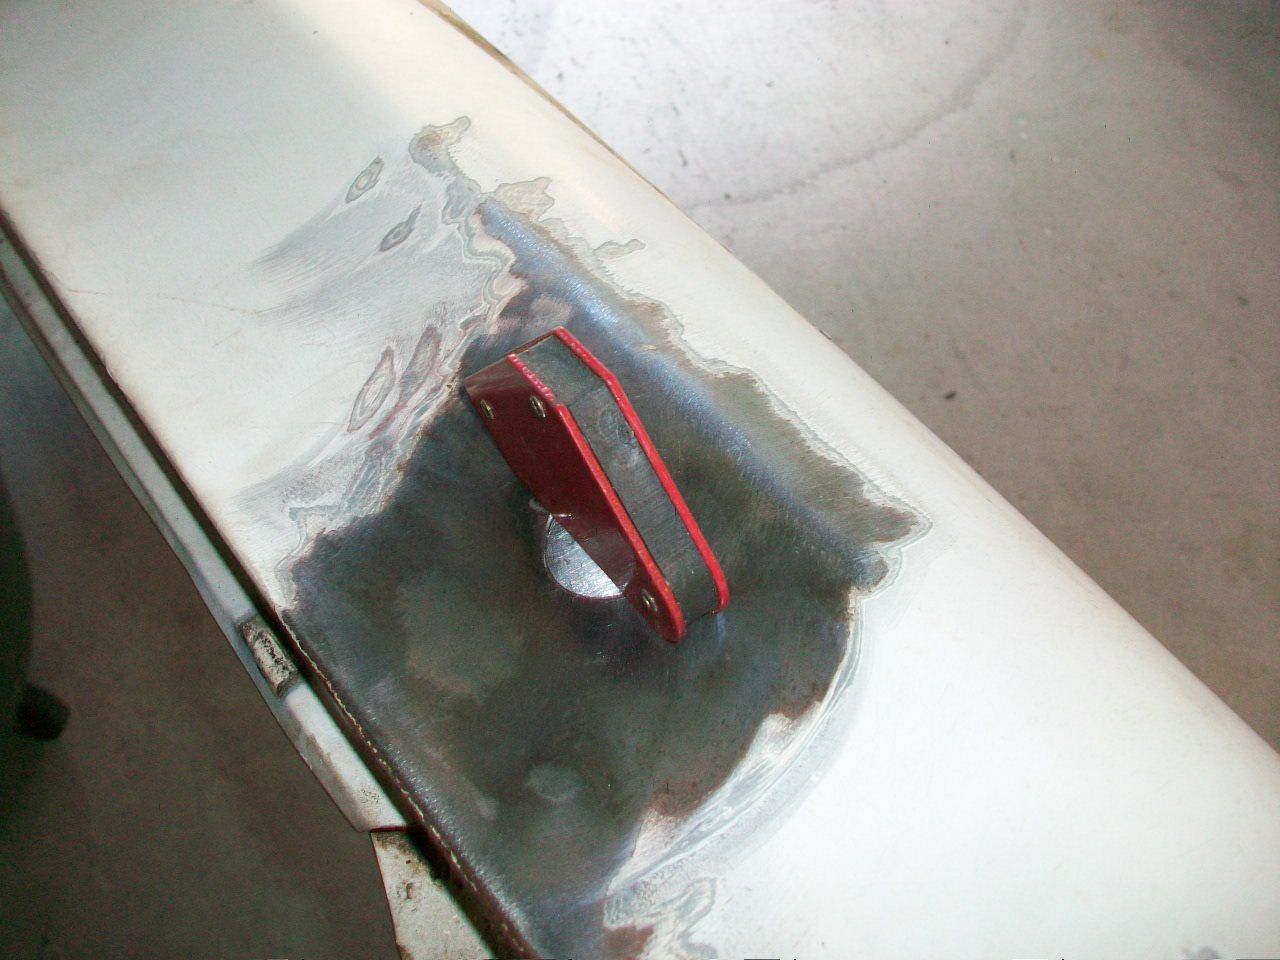 About to my limit on picture posting in one reply... so keep scrolling. 
__________________
Lancaster, California Visit hotrodreverend.com to view hundreds of pictures and videos of the build of the 1955 Ford Club Sedan! |
|
|

|
|
|
#236 |
|
Senior Member
Join Date: May 2010
Location: Lancaster, CA
Posts: 917
|
One tack weld and away we went with several. You can see from the photos that I blew a few out... if I had more experience I am sure it would have went better.
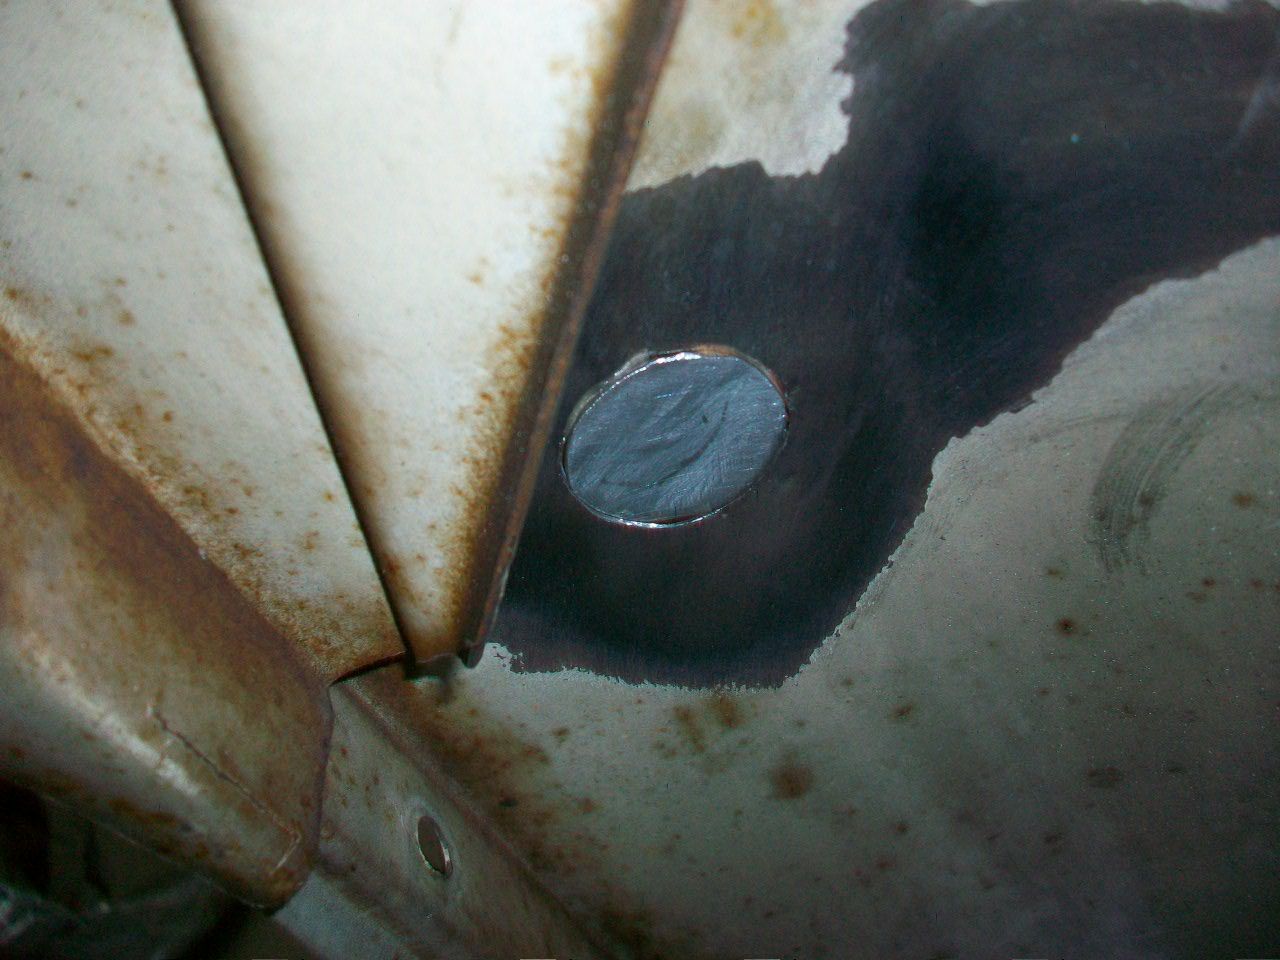 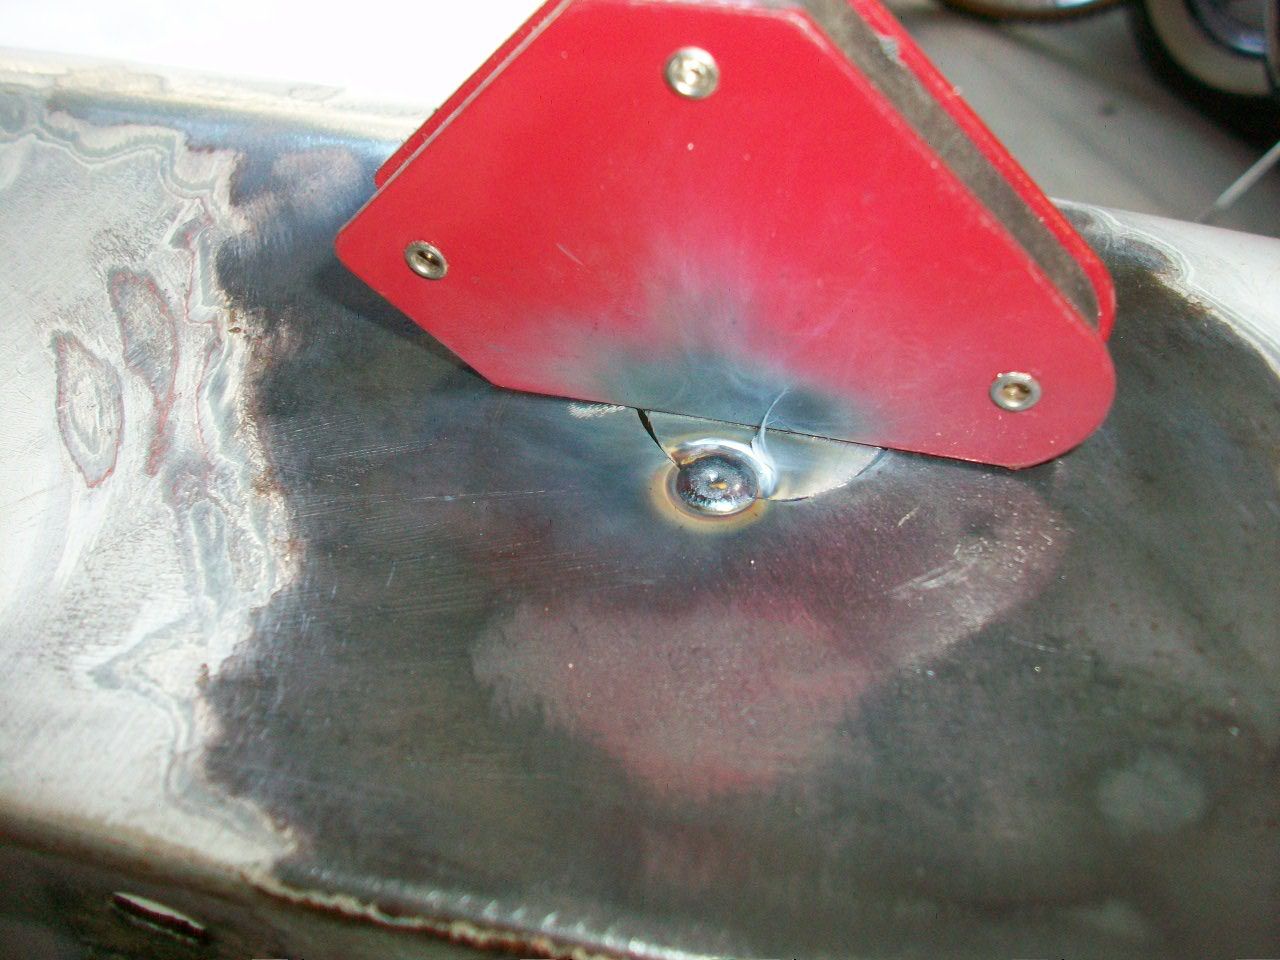 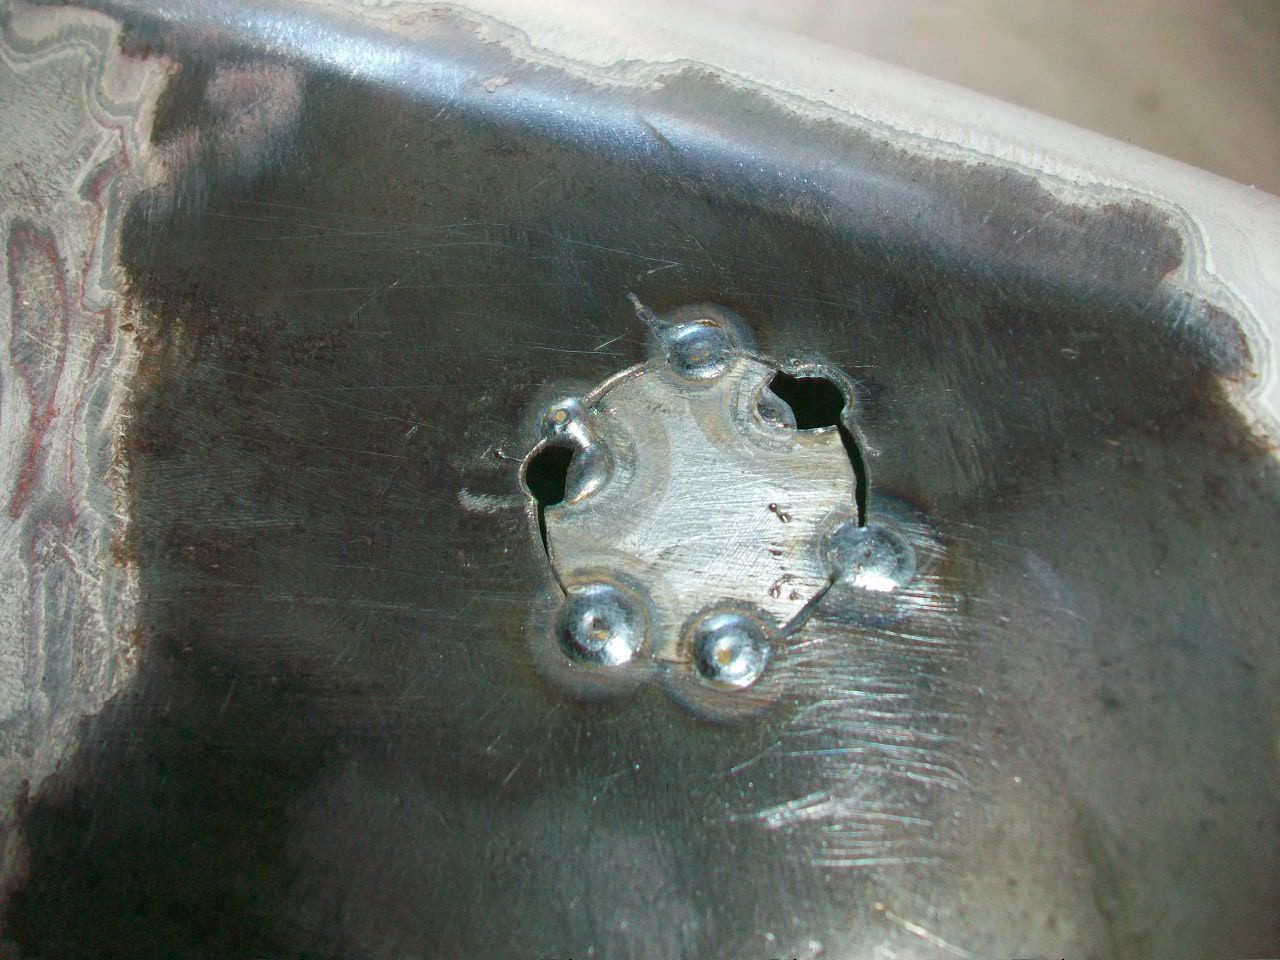 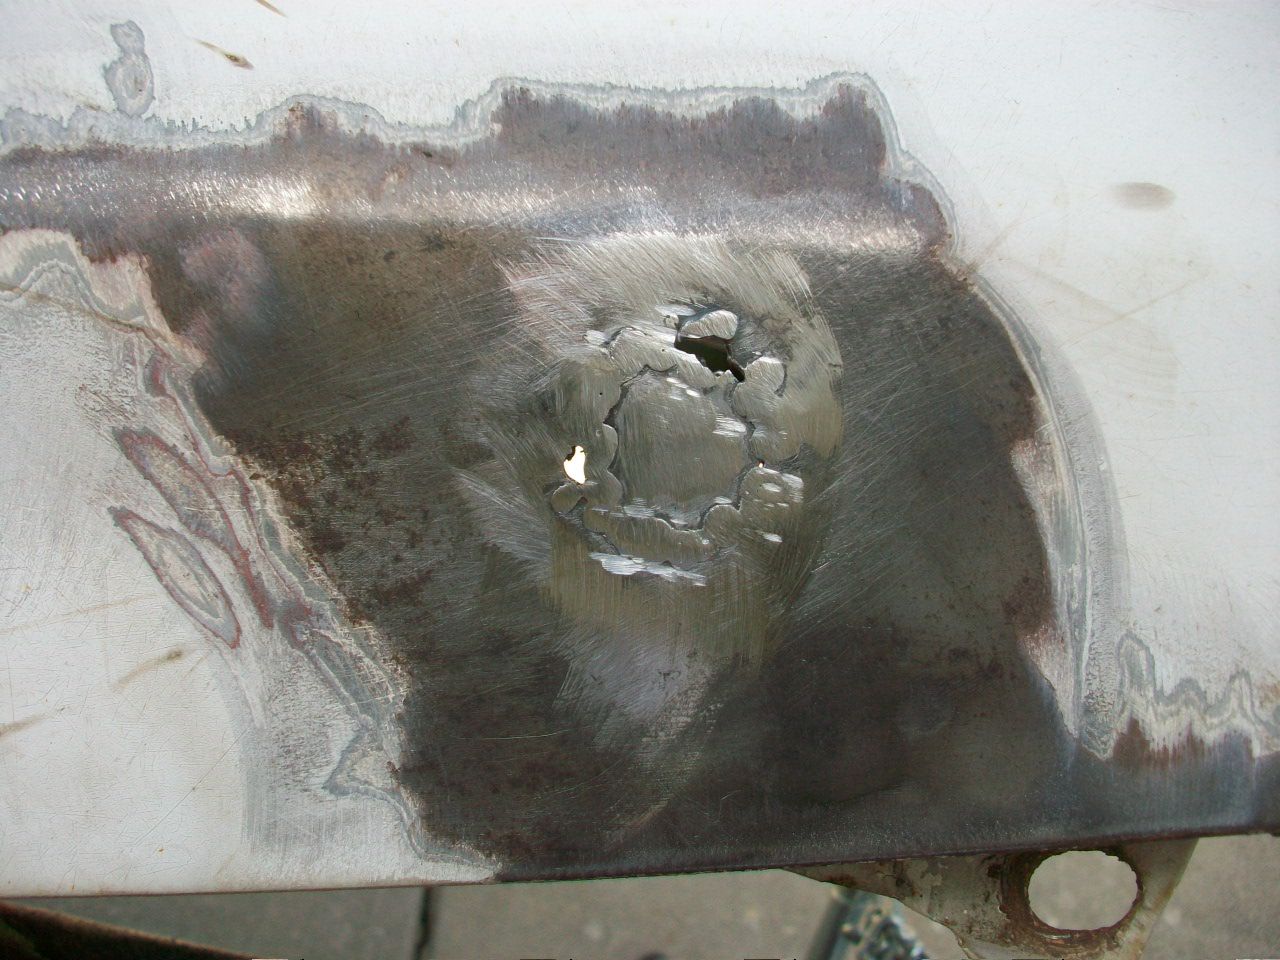 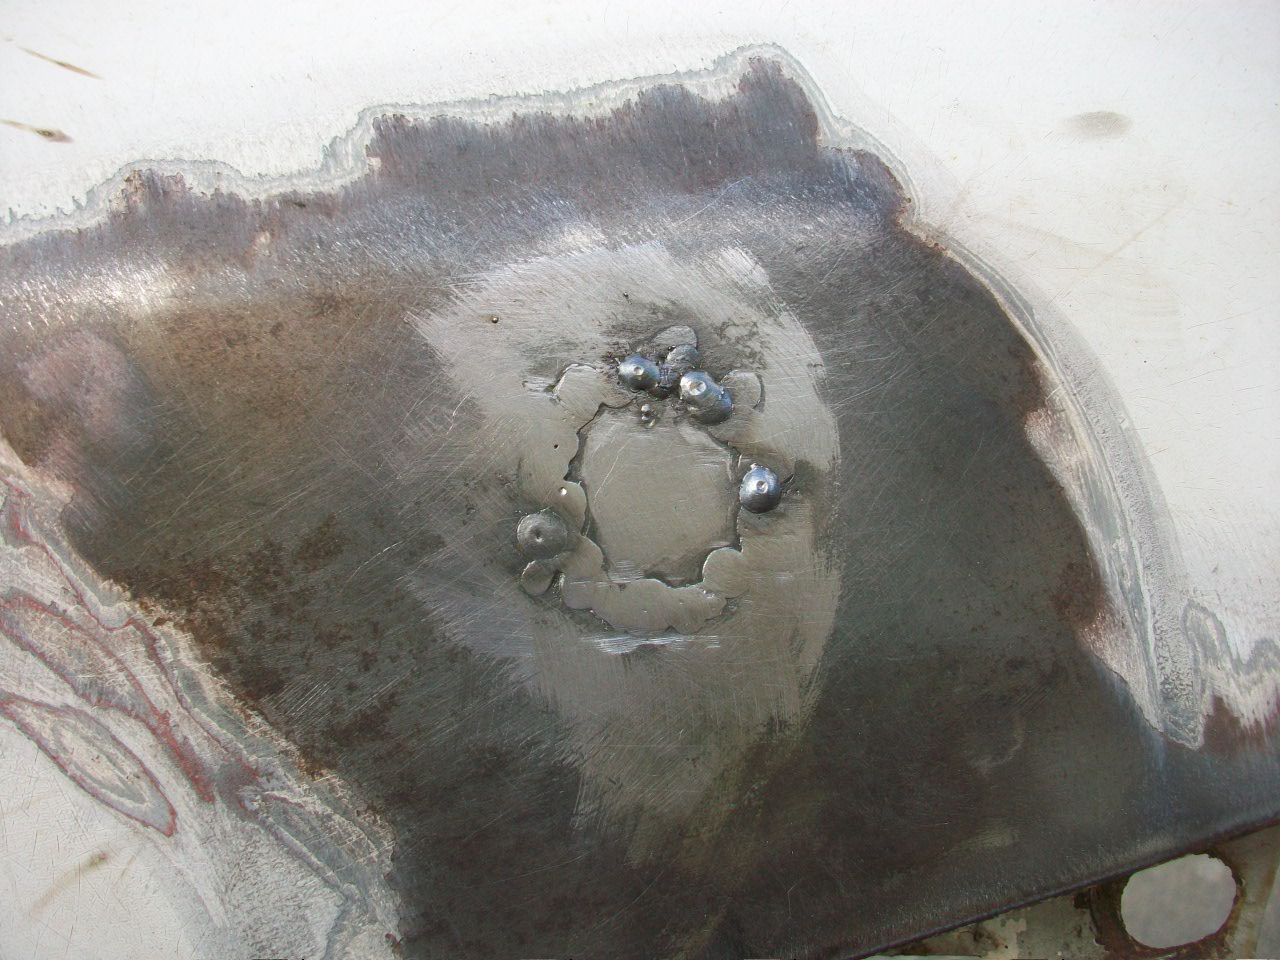 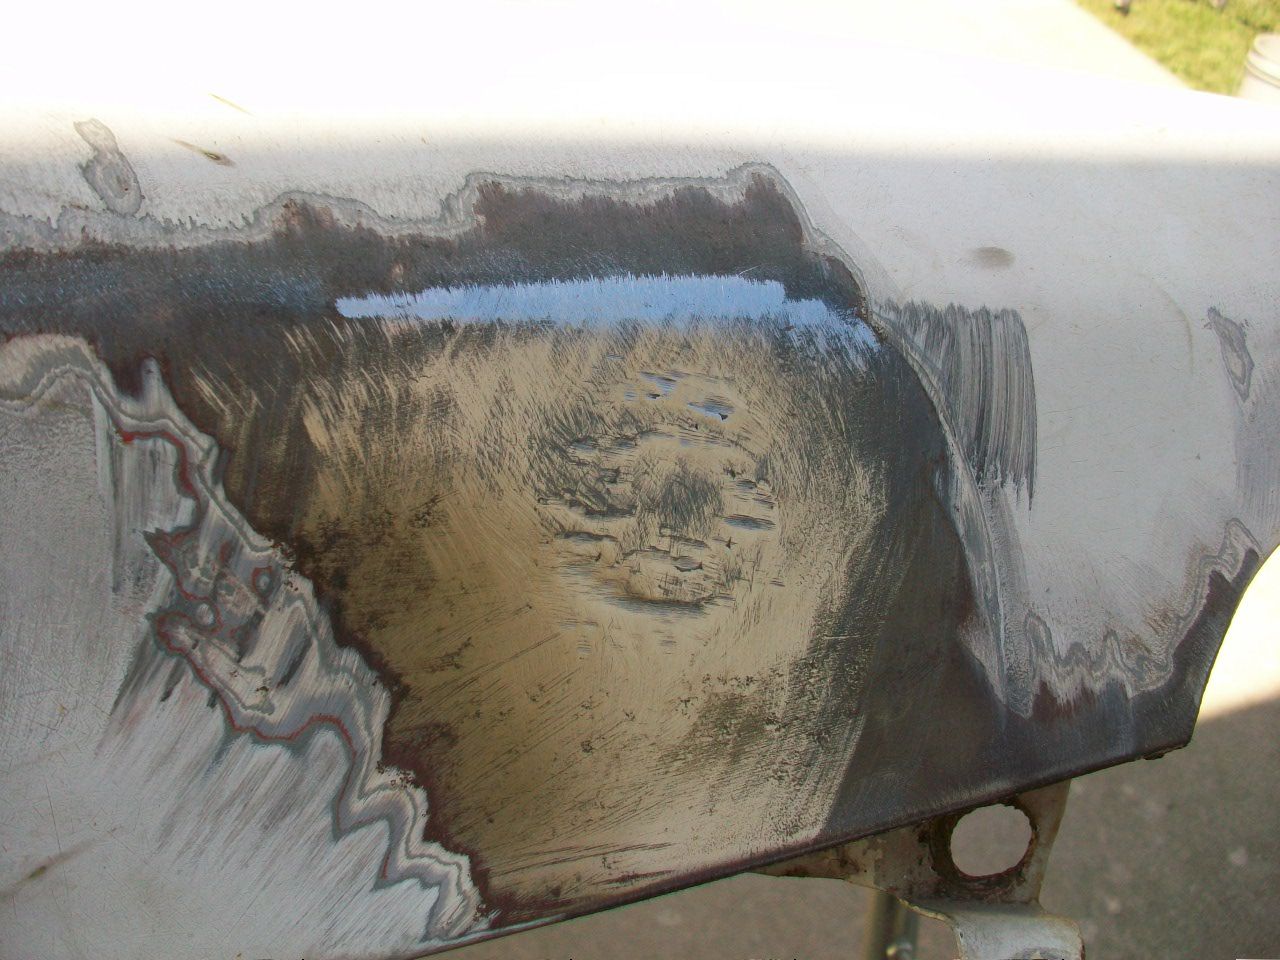 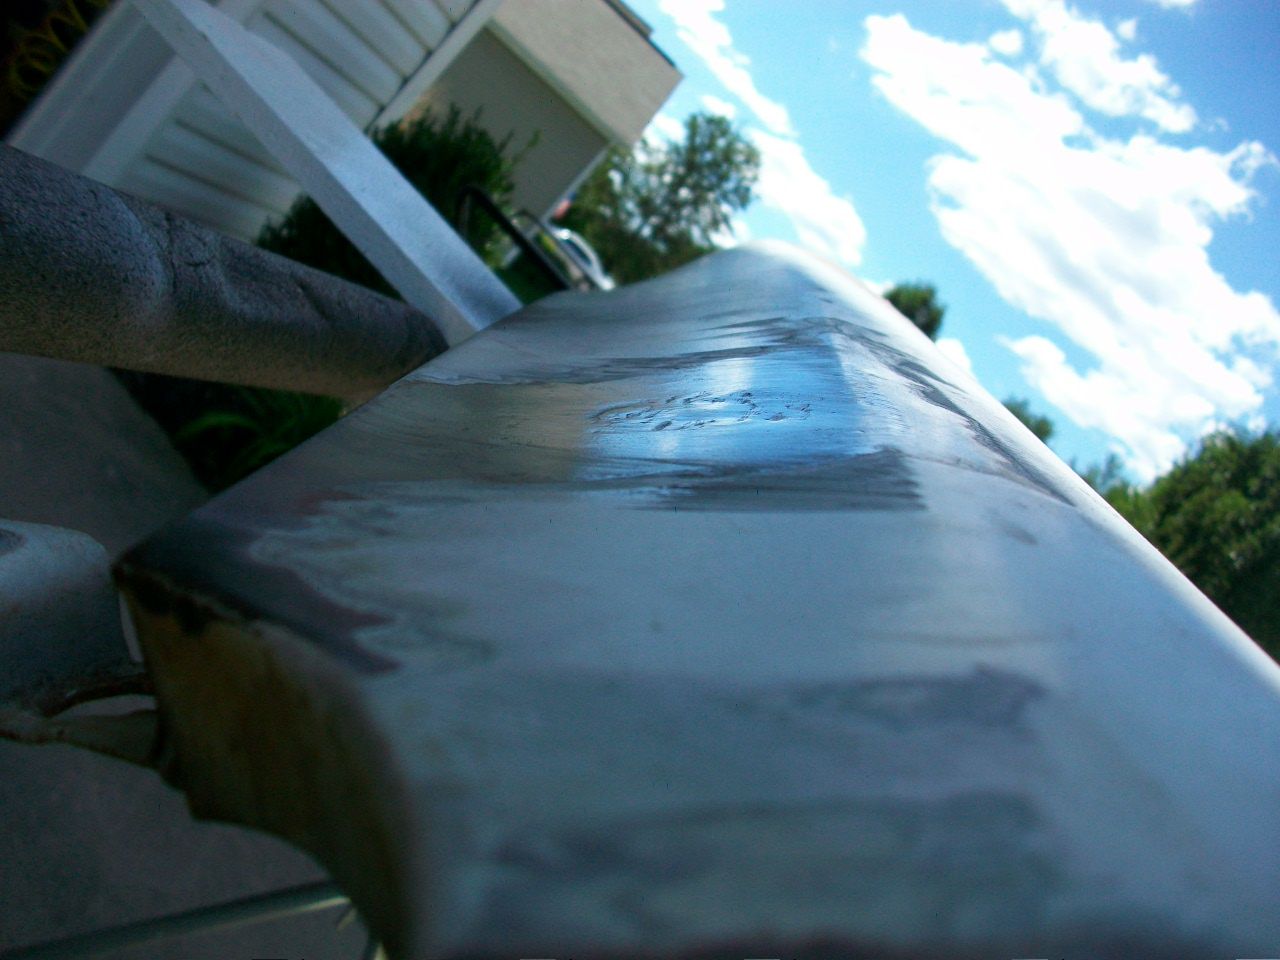  I would have had it all pretty flush and looking really nice but I got carried away with my grinder - pretty dumb to do actually. Don't follow my lead. It should be pretty easy to fill though with a skim coat when it is time to prep this fender for paint. I would like to get all of my welding done and then prep each piece for primer. Hopefully I can get more done on this fender soon.
__________________
Lancaster, California Visit hotrodreverend.com to view hundreds of pictures and videos of the build of the 1955 Ford Club Sedan! |
|
|

|
|
|
#237 |
|
Senior Member
Join Date: May 2010
Location: westbury ny
Posts: 854
|
looks good turn the heat down a little and you wont get the blow thru as for your patch looks good I like to use a short strand fiberglass filler over my patch panels harder then filler also waterproof in case I have any pinholes in my welds also fills any voids then I finish with filler also don't be shocked by the price of body filler i'm using a product called rage ultra its $60-$70 dollars a gallon but sands and finishes with 180 grit ready for primer look online for your supplies a little cheaper then supply stores my question to you is what did you thin your "magic argent" with keep up the good work its all worth it in the end. just my opinion on the materials others may differ but its worked for me for 30 + yrs
|
|
|

|
|
|
#238 |
|
Senior Member
Join Date: May 2010
Location: Lancaster, CA
Posts: 917
|
Frank thanks for the tips.... just ordered some Rage Ultra!
On thinning down to spray that enamel I used acetone.
__________________
Lancaster, California Visit hotrodreverend.com to view hundreds of pictures and videos of the build of the 1955 Ford Club Sedan! Last edited by Hot Rod Reverend; 09-04-2016 at 09:13 PM. |
|
|

|
|
|
#239 |
|
Senior Member
Join Date: May 2010
Location: Lancaster, CA
Posts: 917
|
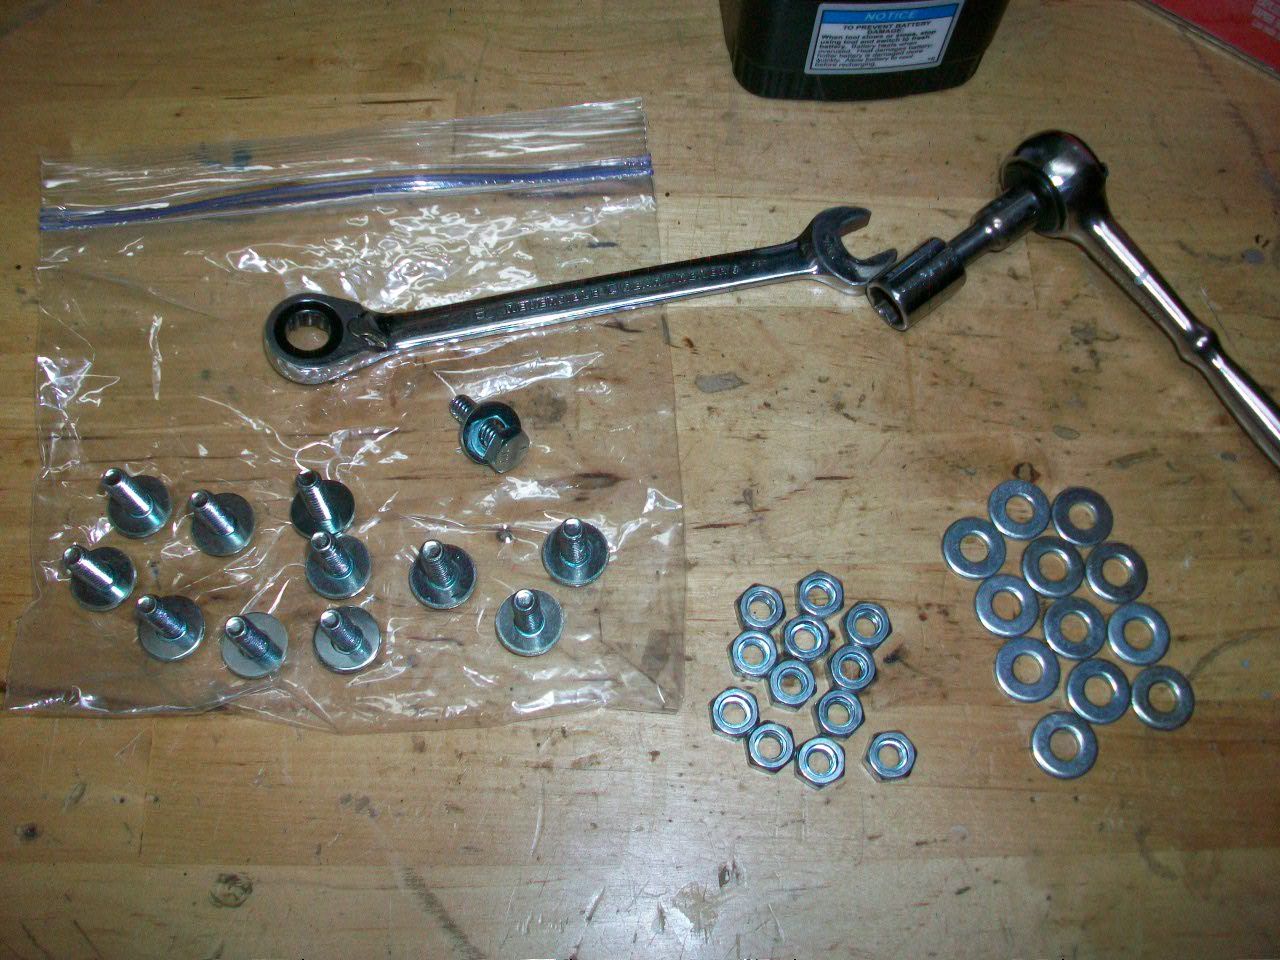
On the installation of the gravel pan, or as Ford called it, "the stone deflector" I set out the hardware ahead of time, with two washers, a nut, and a bolt per hole. 12 holes across the front of air dams. 7/16" head on this hardware.
 I also broke out some of these strips of caulk from 3M - thanks for the tips fellas. This stuff is easy to work with and seems to be industrial strength. 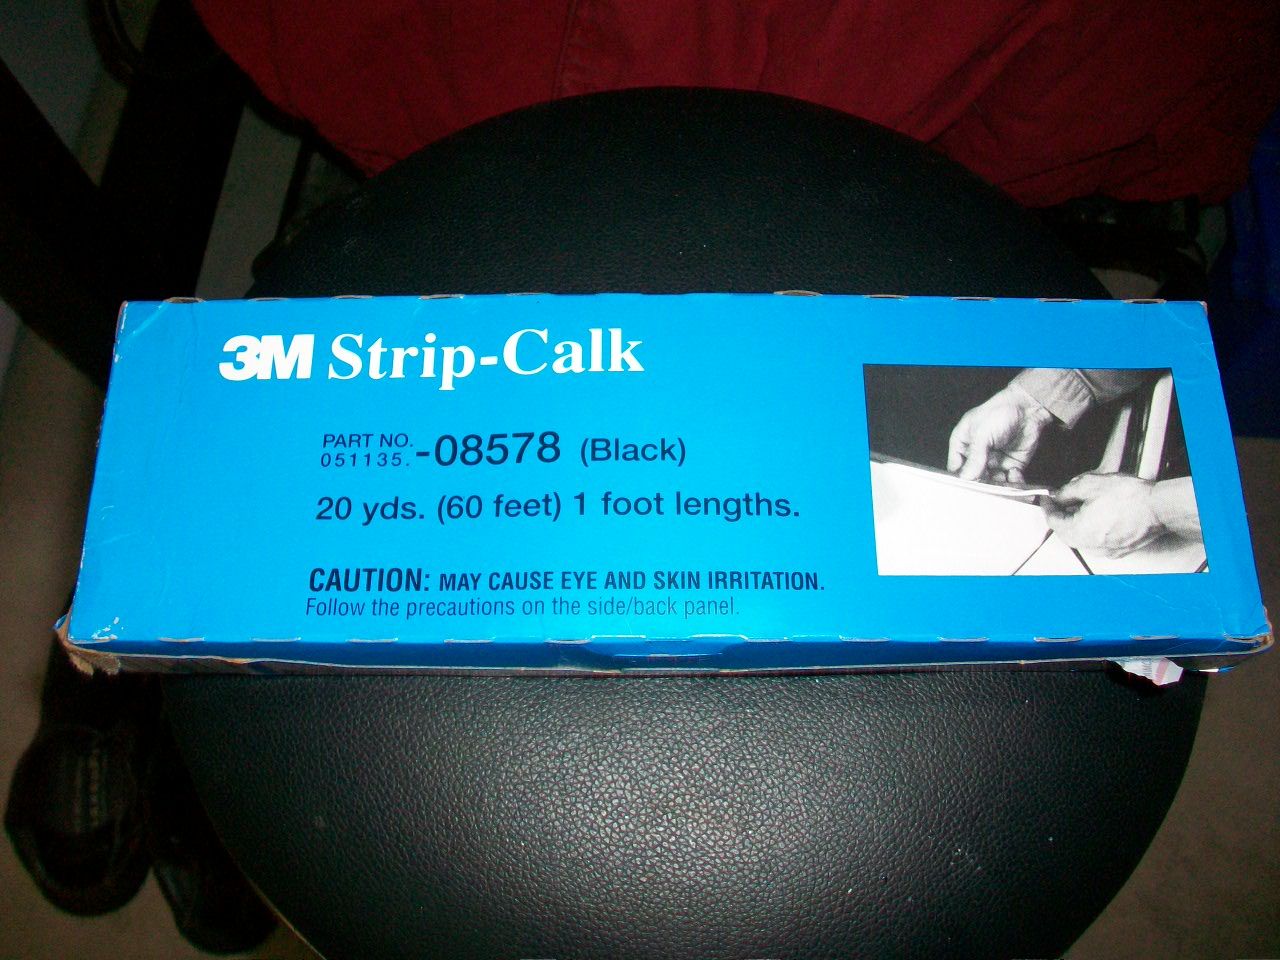 Just put the strips down the length of the air dams before fastening the gravel pan and then lined up all 12 holes to snug down the hardware enough to leave it there until I get the fenders back on. 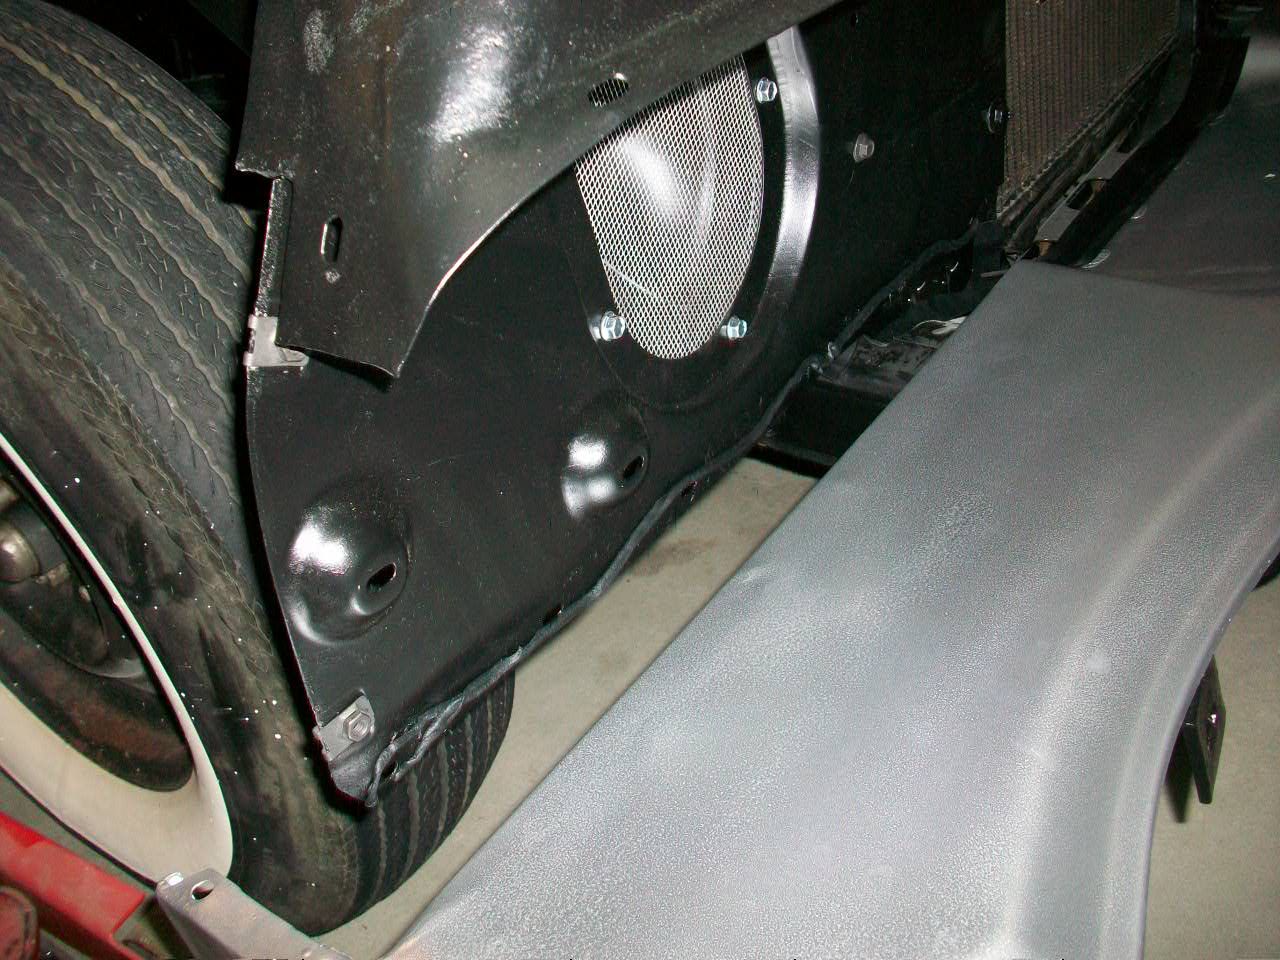 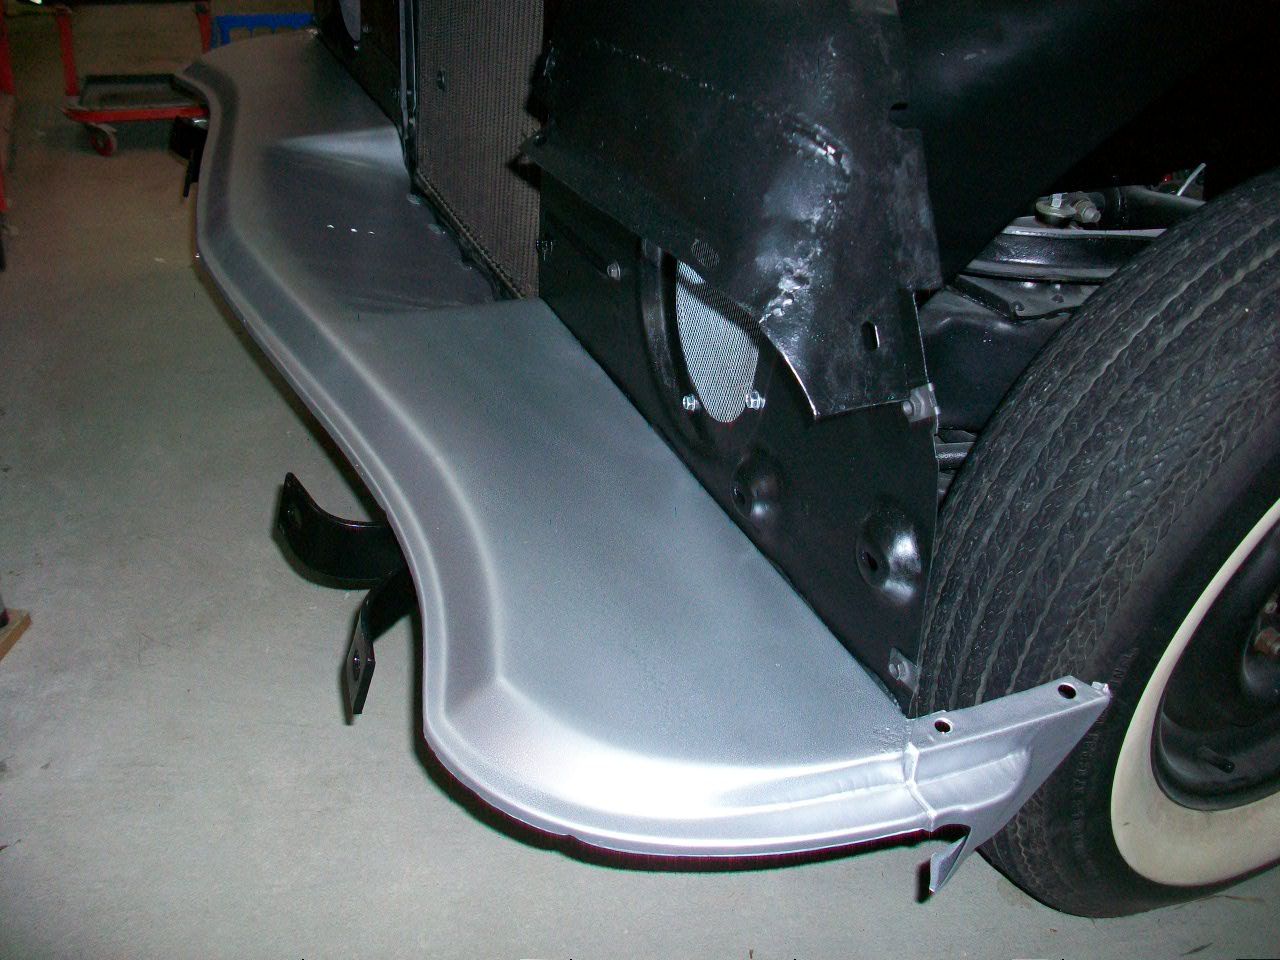 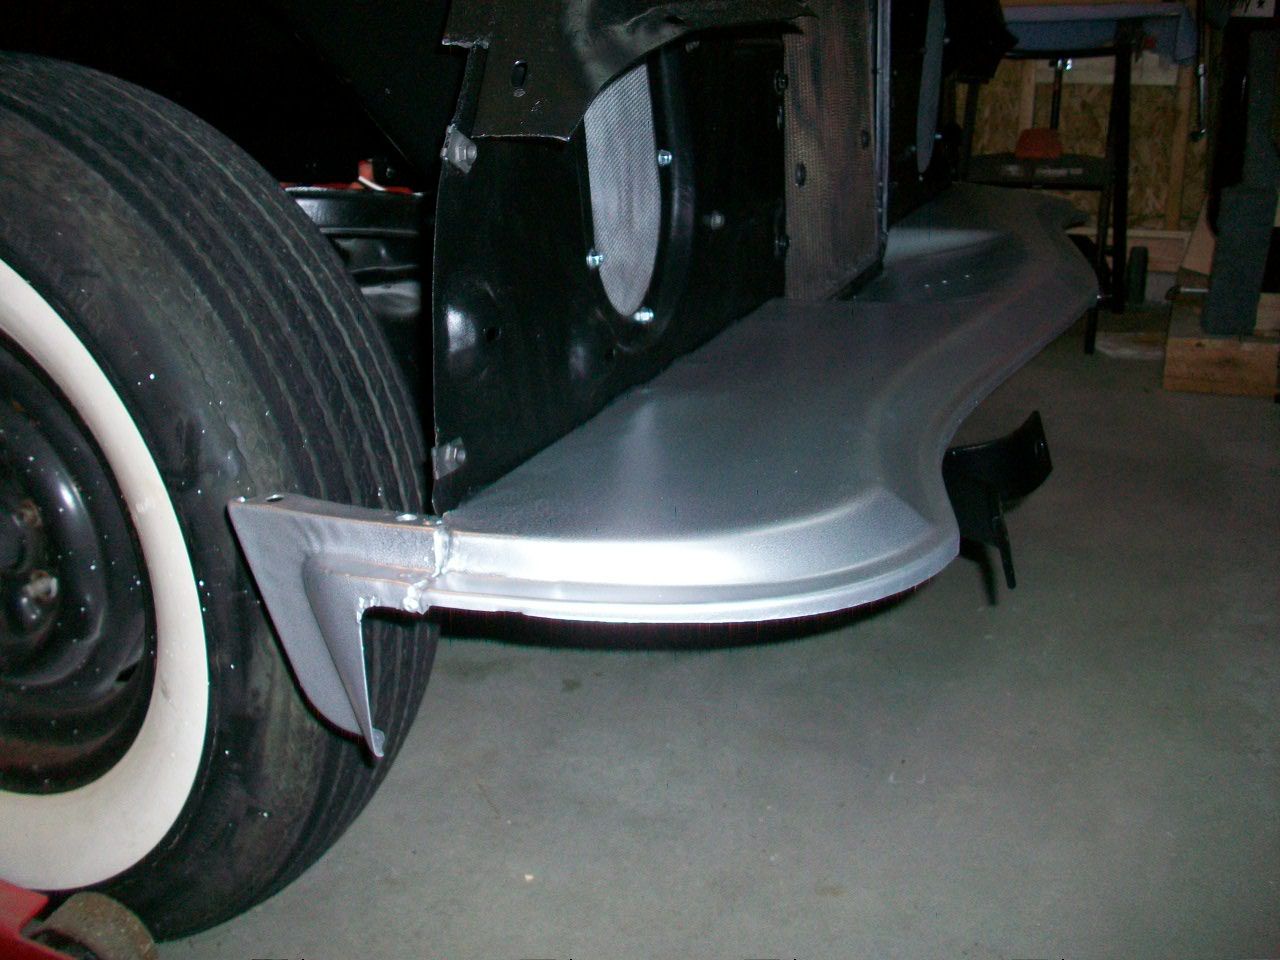 I also reassembled the headlight buckets with their springs and adjuster screws. 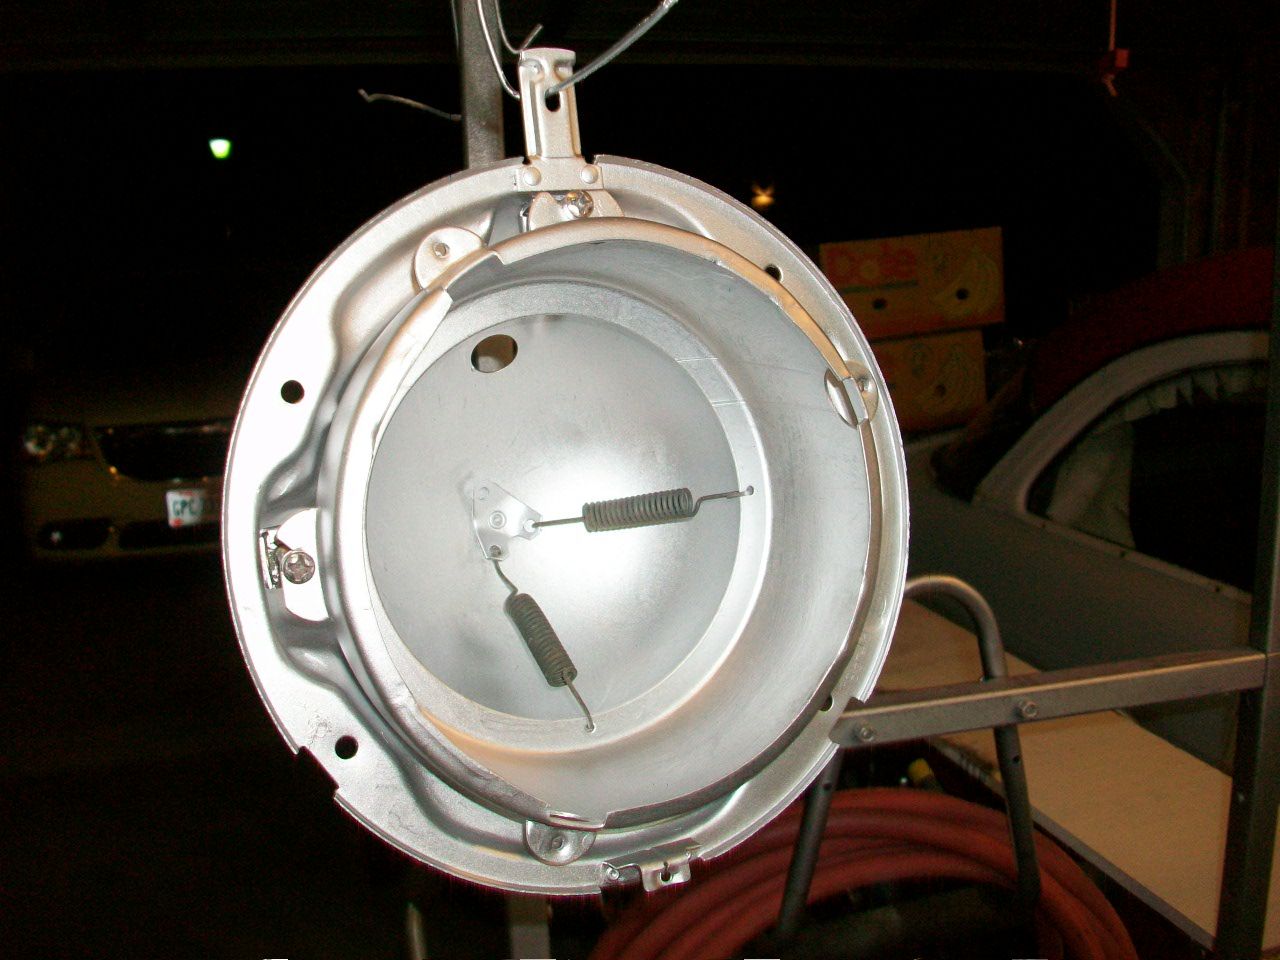 What do you guys use for headlights beyond the original setup? I would like to go the relay route and with some Halogens. Can anyone give some good reviews on what they have or maybe some installation tips?
__________________
Lancaster, California Visit hotrodreverend.com to view hundreds of pictures and videos of the build of the 1955 Ford Club Sedan! |
|
|

|
|
|
#240 | |
|
Senior Member
Join Date: Aug 2012
Location: Abq, NM
Posts: 3,607
|
Quote:
*IF* you are using a '55 oem style wiring harness made for a 6v car there shouldn't be any need for extra headlight power relays. Because, the current capacity of the wiring in a 6v car is approx double what is necessary when the car is converted to running on 12v. Check the wattage ratings on the regular and halogen headlights that are your potential choices, they may be closer than you think. If you're using a 12v replacement style wiring harness and want to run higher wattage headlights then yes, two relays (hi beam / lo beam) and some larger wire to them from the battery just for those headlights could be helpful. Mounting the circuit breakers and relays for the brighter headlights near the battery and headlights will cut down on the additional length of wires needed. . |
|
|
|

|
 |
«
Previous Thread
|
Next Thread
»
|
|
| Sponsored Links (Register now to hide all advertisements) |
|
|
All times are GMT -5. The time now is 08:15 AM.


 Linear Mode

