4/26/12
Pulled the front axle apart last night.All the hubs, brakes and kingpins came off ok. The person that put it together seems to have had an aversion to splitpins. One perch bolt showed signs of fretting, and I got both the nuts off and the fretted one came out easy. It was actually loose and showed a small amount of wear.
I have a dropped axle (JD) that I might sling under it, and have a plan to get it all set up using parts I have immediately to hand. I think the front could use a subtle drop (1.5") that will overcome the raising effect of the new bushes I will be fitting, but the other benefit will be a slight decrease in track width bringing the tyres back under the fenders.
You have to drop the steering arms down a long way with a 33 wishbone, so I may look at running the track rod above the bones or using two twin hole spindles (one LHD and one RHD) and using the second hole in each, the extra length compensating for the deep drop.
Although I didn't intend to do it, I think it will make sense to throw a coat of paint on the parts as they are refurbed and put back on. I need to allocate an area to wirebrushing etc, to try and limit the mess made. Working on the truck absolutely covered everything else in thick brown rust dust, and I want to avoid that if I can.
Tonight I looked at the damaged wishbone and set about making it serviceable.
I got the tight perch bolt out using a combination of heat and a pneumatic chisel. The chisel did not quite get it started, but I managed to get it to twist and then the chisel managed to push it out.
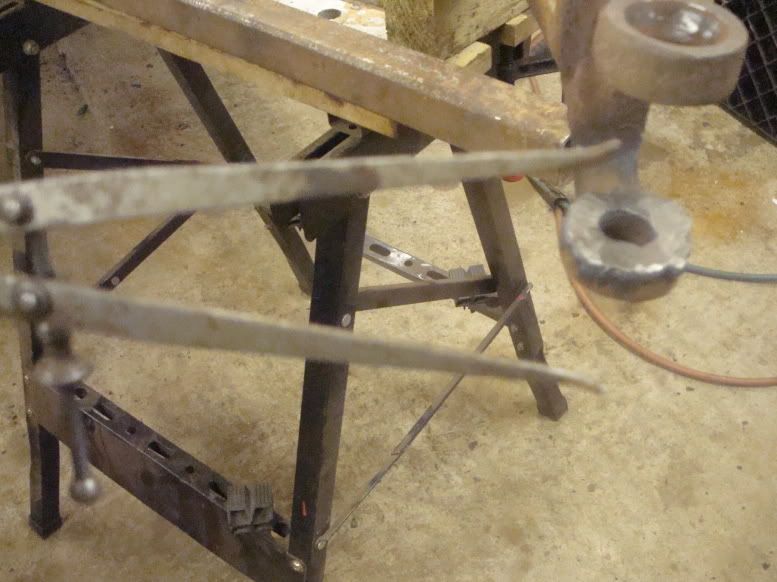
The result of this exercise was that I had:
A pair of perches, one slightly worn.
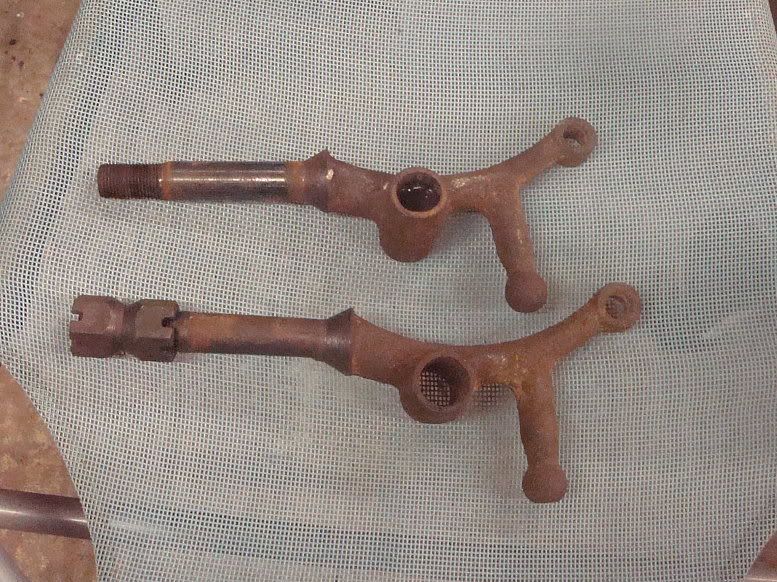
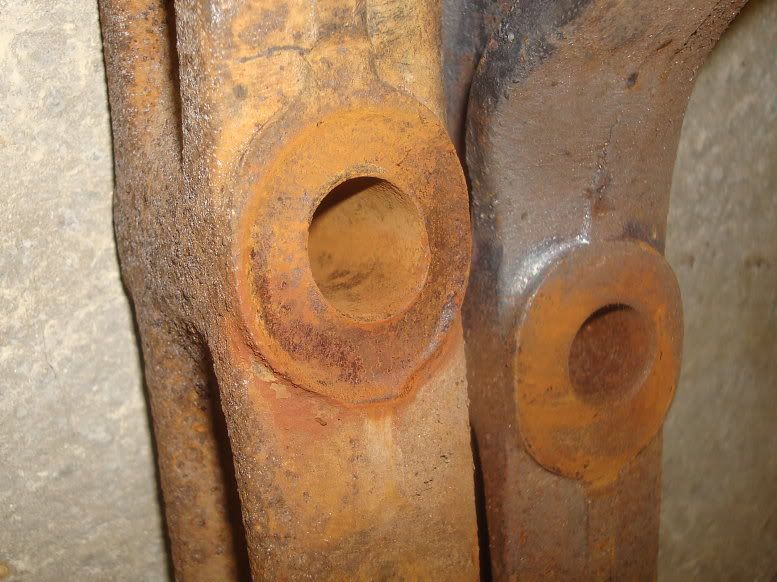
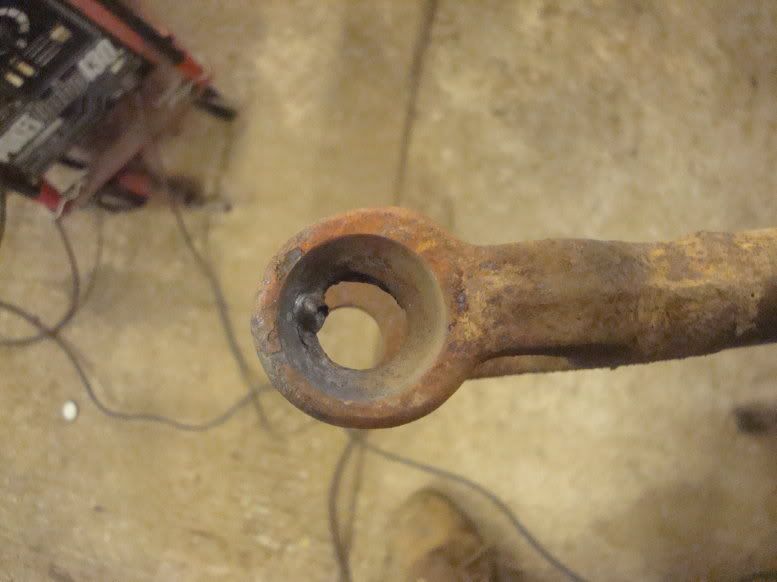
One slightly fucked axle - the hole is oval. (Note dropped axle next to it - I'm going to use that)
And a wishbone with a worn end.
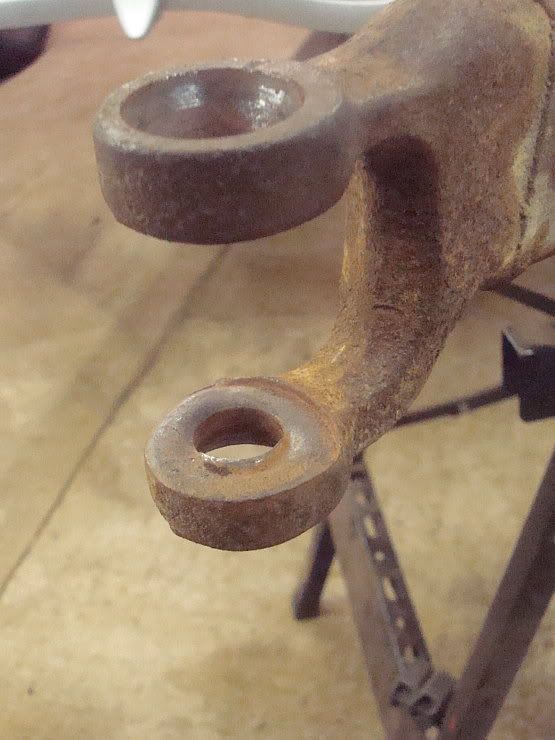
I decided the job stopper was the wishbone, so I tackled that first.
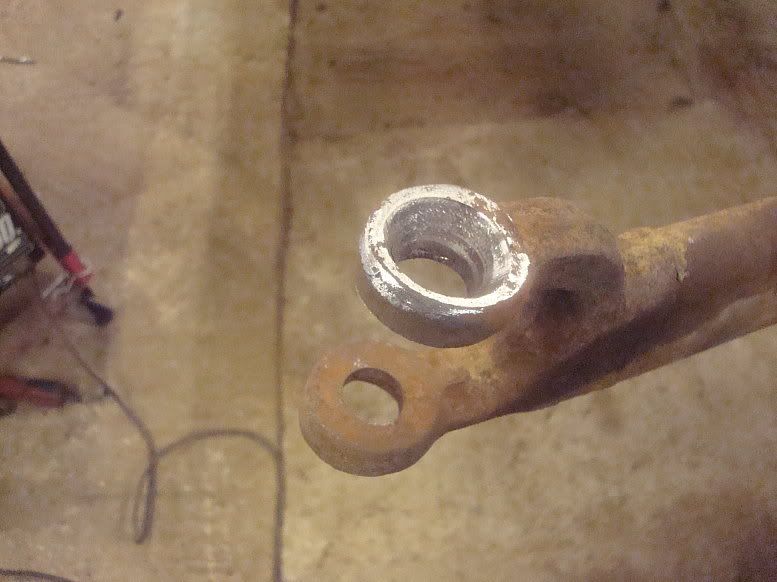
I warmed the end with oxy acetalene and laid down a few good beads of mig on the surface.
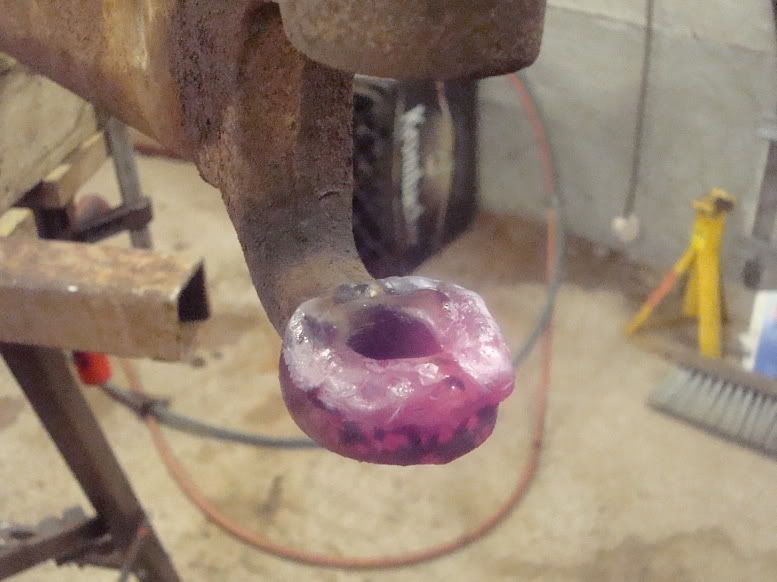
Then using an old fashioned pair of inside calipers I ground the weld down checking the gap with the calipers as I went.
I finished it by hand filing until the fit was acceptable.

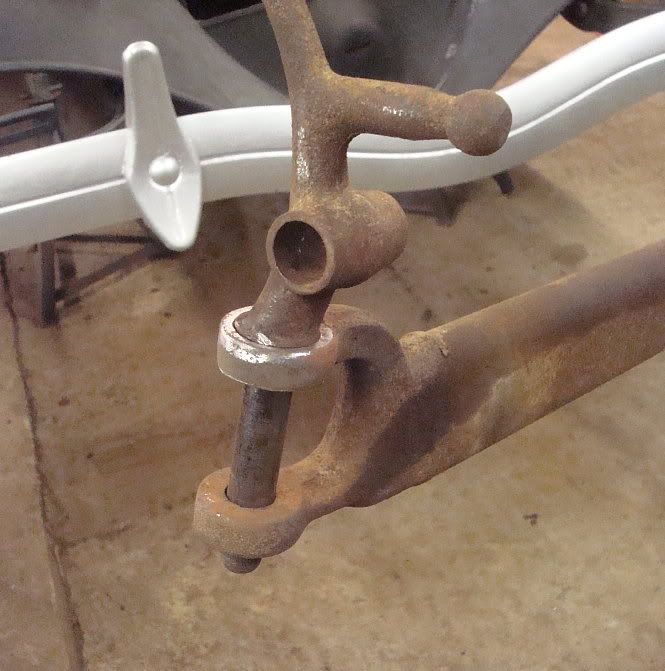
This weld booger on the taper:
Was ground and then hand filed down until it looked ok.
And the good pin test fitted in place.
I have built up the worn pin with weld and will see if I can skim it down on the lathe. These are not normally moving parts, but should be a good tight fit. If I can't get it right I'll be looking for a replacement or I do have a pair of street rod ones but I prefer the look of the originals with the brake and shock brackets on them, even though they may be redundant.
Mart.