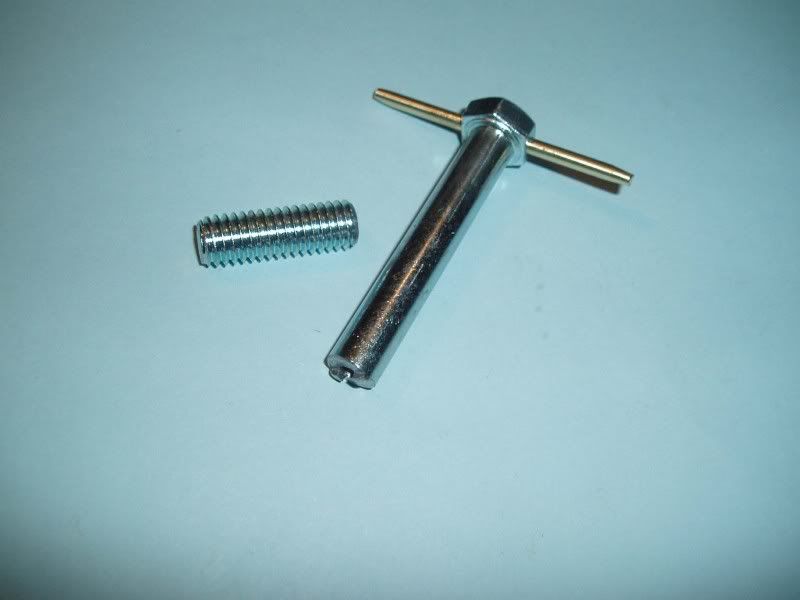
These pictures show a couple wrenches I made to work on the special ammeter nuts. The first one I made has the round aluminum handle, but since that was the only handle I had I started making a new design, which is actually better because it's flat and fits in the tool pouch or tool box better. I still have a few left and was selling them for $15 plus postage, which is probably about $3 now.
It takes a lathe and a mill (or, in my case a milling attachment for the lathe) to make this tool. I'm not a production shop, so for me to set up and make the tool takes an hour or so.
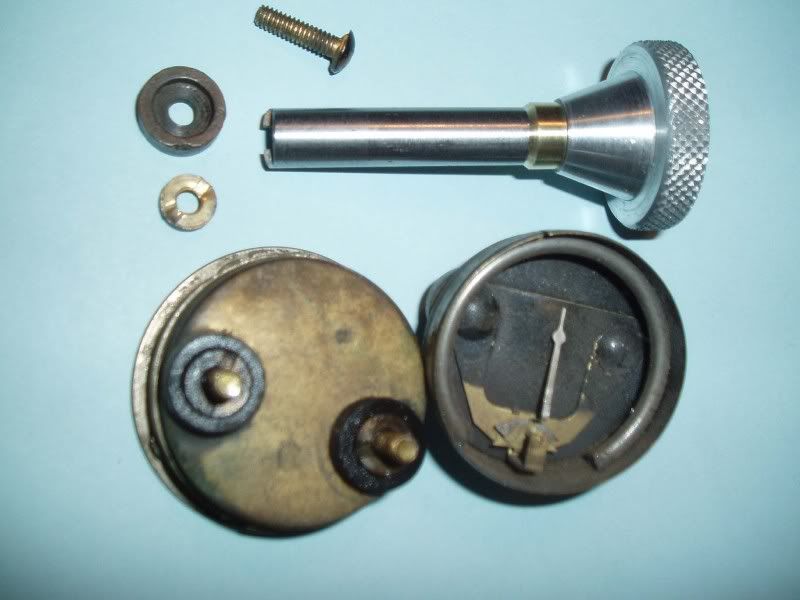
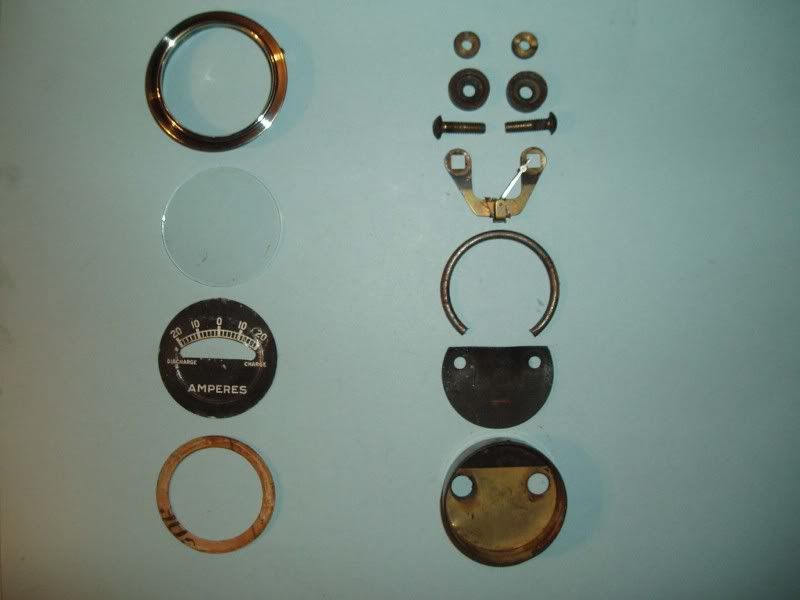
The last picture shows all the parts to the ammeter. The terminals must be clean and tight to the buss bar inside the guage. Some people also solder the heads of the two studs to the buss bar for positive contact. Also pay attention to which way the ring magnet comes out and be sure to install it the same way, or the guage will read backwards. A bent needle is easily straightened, but go easy on it, as it's very thin metal, not much thicker than heavy aluminum foil.
I like to put a drop of heavy gear oil on each of the two pivot points, as it dampens the movment a bit.
Notice that on an original ammeter anything you can see through the window is flat black, but on repro's it's usually just shiney brass.